How to Download and Use a Web3 Wallet Browser Extension

Overview of the Browser Extension Wallet
A leading crypto wallet platform has launched its browser extension wallet version 2.0, featuring comprehensive optimizations in brand visuals and performance. This update significantly enhances the interaction fluidity of the wallet's global functions, while further strengthening security measures to protect user assets.
New users can download the latest extension from the official website, while existing users can upgrade directly after logging into their browser extension wallet. Once installed, users can quickly access and connect to various Web3.0 applications through the web interface, enabling seamless interaction with decentralized ecosystems.
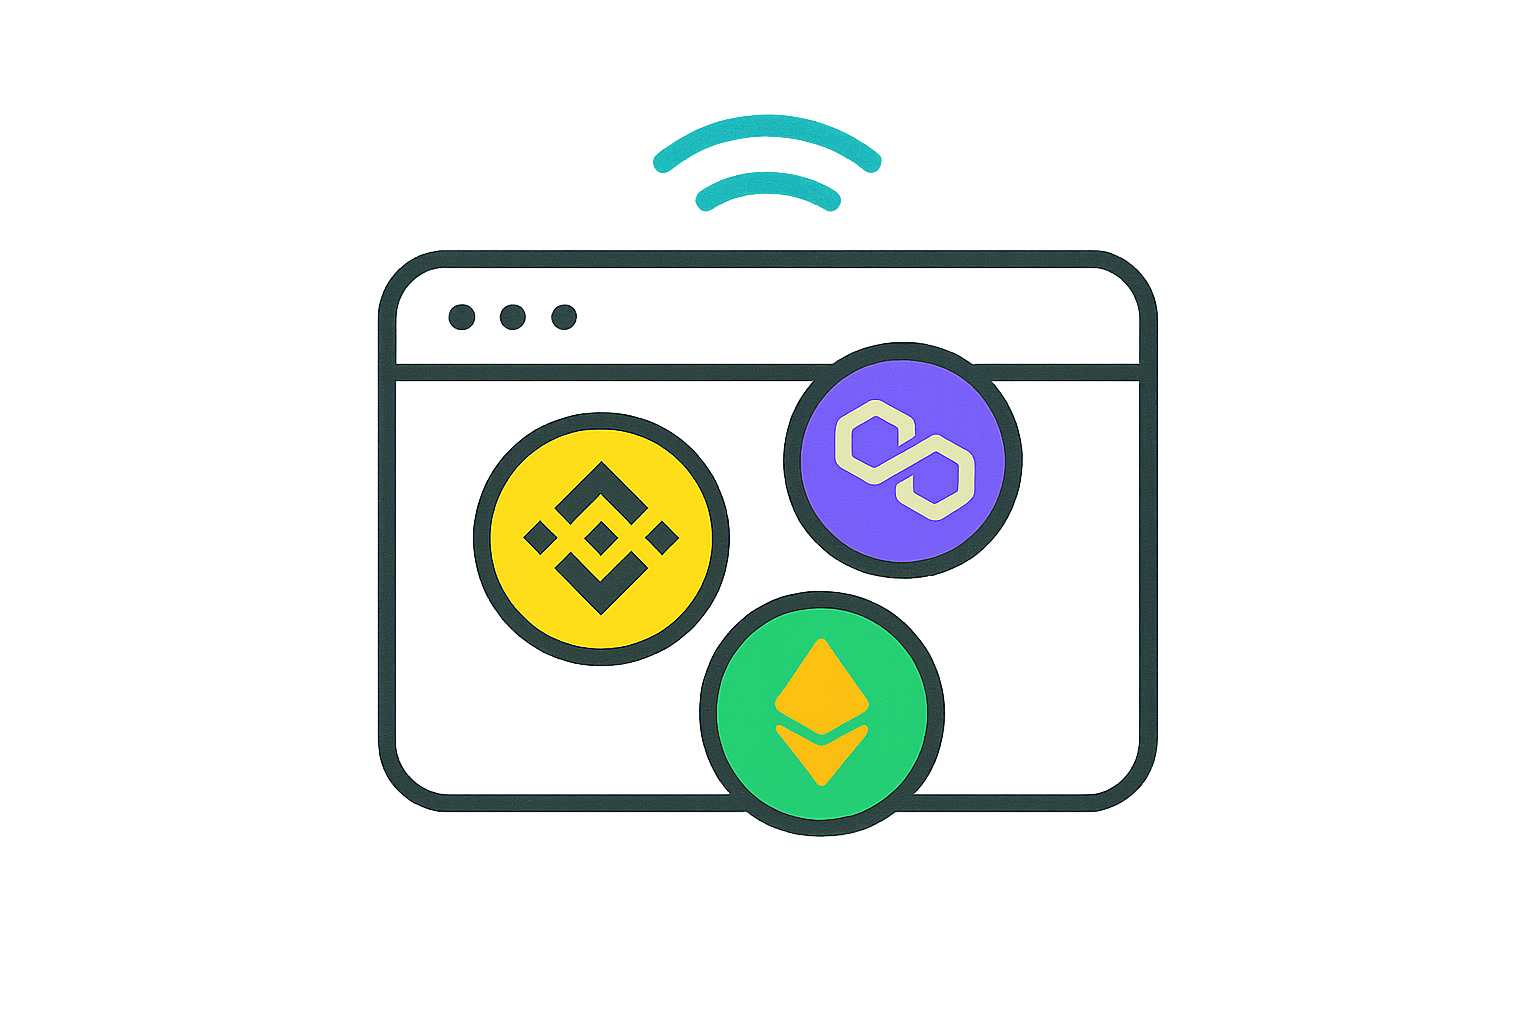
Currently, the extension supports DApp connections across all EVM-compatible chains, including BNB Chain, Arbitrum, Polygon, and other major blockchain ecosystems. This broad compatibility ensures users can explore diverse decentralized applications without switching between multiple wallet solutions.
Installation and Setup Process
Setting up your browser extension wallet is straightforward and can be completed in just a few minutes. Follow these detailed steps to get started:
Step 1: Download the Extension Visit the official wallet website and click the download button. You will be redirected to the Chrome Web Store, where you should click "Add to Chrome" to begin the installation. The extension is compatible with Chrome and other Chromium-based browsers such as Brave, Edge, and Opera.
Step 2: Create or Import a Wallet After successful installation, you'll have two options: "Create a Wallet" to generate a new crypto wallet, or "Import a Wallet" to restore an existing wallet using your recovery phrase. This flexibility allows both new users and experienced crypto enthusiasts to get started quickly.
Step 3: Set Up Your Security Password For this guide, we'll demonstrate creating a new wallet. Select "Create a Wallet" and then set a strong login password. This password will be required each time you access your wallet, so choose something secure yet memorable. Click "Next" to proceed.
Step 4: Backup Your Recovery Phrase You can follow the guided process to backup your seed phrase immediately, or click "Backup Later" to first explore the wallet interface and complete the backup at a more convenient time. However, we strongly recommend backing up your recovery phrase as soon as possible, as this is the only way to restore your wallet if you lose access to your device.
Step 5: Pin the Extension to Your Browser For convenient access, we recommend clicking the extensions icon in your browser toolbar and pinning the wallet extension. This ensures the wallet icon remains visible, making it easier to connect to DApps and manage your assets without navigating through multiple menus.
Step 6: Start Exploring Once setup is complete, click "Start Exploring" to begin using your browser extension wallet. You'll be able to add custom networks, manage tokens, execute transfers, and interact with various decentralized applications across multiple blockchain networks.
Step 7: Customize Your Wallet Settings After logging into the wallet, you can perform various operations including adding mainnets or tokens, making transfers, and managing your portfolio. Additionally, click the "Discover" section to personalize your extension wallet settings, such as adjusting gas fee preferences, enabling transaction notifications, and configuring security options.
Connecting and Accessing DApps
Once your wallet is properly configured and you're logged in, you can quickly access and utilize different decentralized applications. Here's a detailed walkthrough using a popular GameFi project as an example:
Step 1: Navigate to the DApp Website Open the official website of your chosen decentralized application. Look for the wallet connection option, typically located in the top-right corner of the interface. Click on "Wallet" or "Connect Wallet" to initiate the connection process.
Step 2: Select Your Wallet Provider In the connection popup window, you'll see various wallet options. Look for and click on your crypto wallet's icon to proceed with the connection. The DApp will request permission to view your wallet address and interact with your assets.
Step 3: Authorize the Connection In the authorization popup, carefully review the permissions being requested. Click "Connect" to grant access. If the DApp operates on a specific blockchain network (such as BNB Chain), you may need to click "Approve" to switch networks. Review the network details and select "Agree" to complete the network change.
Important Security Note: Always verify you're on the legitimate DApp website before connecting your wallet. Check the URL carefully and ensure the site uses HTTPS encryption. Never share your recovery phrase or private keys with any DApp or website.
Step 4: Confirm Successful Connection Once connected successfully, the DApp's interface will display your wallet address in the top-right corner, confirming the active connection. You can now safely interact with various features within the decentralized application, such as trading tokens, participating in liquidity pools, or engaging with GameFi mechanics.
Benefits of Using a Browser Extension Wallet
Using a browser extension wallet provides several advantages for Web3 users:
Seamless Integration: The extension integrates directly into your browser, eliminating the need to switch between applications when interacting with DApps.
Enhanced Security: Browser extension wallets keep your private keys stored locally on your device, providing better security than web-based wallets while maintaining convenience.
Multi-Chain Support: With support for numerous blockchain networks, you can manage assets across different ecosystems from a single interface.
Quick Access: Once installed and pinned to your browser, accessing your wallet and connecting to DApps takes just one click, streamlining your Web3 experience.
Now you can use your crypto wallet browser extension to securely and easily interact with various features across decentralized applications, exploring the full potential of the Web3 ecosystem.
FAQ
What are the most popular Web3 wallet browser extensions and how do I choose one?
Popular Web3 wallet extensions include MetaMask, Wallet Connect, and Brave Wallet. Choose based on supported chains, security features, user interface, and your preferred blockchain ecosystem. Consider security reputation and community reviews before selecting.
How do I safely download and install a Web3 wallet extension in my browser?
Visit the official wallet website or your browser's extension store. Verify the developer's authenticity and read user reviews. Download from official sources only, then enable the extension and follow setup instructions carefully. Never share your private keys or seed phrases.
What should I do after installing a Web3 wallet extension to secure my account?
Create a strong password, write down your seed phrase securely offline, enable two-factor authentication if available, verify the official extension URL, and never share your private keys or seed phrase with anyone.
How do I connect my Web3 wallet extension to different blockchain networks?
Open your wallet extension settings, locate the network selector, and choose your desired blockchain from the dropdown menu. You can also add custom networks by entering the RPC URL, chain ID, and currency details manually.
How do I send and receive cryptocurrency using a Web3 wallet extension?
To send crypto, click 'Send', enter the recipient's address, specify the amount, and confirm the transaction. To receive, share your wallet address or QR code. The extension handles all blockchain interactions securely.
Is it safe to use a Web3 wallet browser extension and what are the security risks?
Web3 wallet extensions are generally safe when used properly. Main risks include phishing attacks, malicious extensions, and private key exposure. Mitigation: only download from official sources, enable security features, never share recovery phrases, and keep software updated.
How do I import or restore my existing wallet into a browser extension?
Open the extension and select 'Import Wallet' or 'Restore'. Enter your seed phrase or private key in the correct order. Set a secure password and confirm. Your wallet will sync with the extension instantly.
What should I do if I forget my Web3 wallet password or seed phrase?
Unfortunately, Web3 wallets are non-custodial, meaning no one can recover your password or seed phrase. Always store your seed phrase securely offline. If lost, your funds are inaccessible. Create a new wallet and transfer assets if you still have access to your account.
Effortless MetaMask Wallet Setup Guide

Guide to Integrating Avalanche Network with Your Digital Wallet
Exploring WalletConnect: A Step-by-Step Guide to Connecting with Web3

Guide to Setting Up a Secure Web3 Wallet with MetaMask
Anonymous Crypto Debit Card Solutions
Introduction to MetaMask: A Beginner's Guide to Crypto Wallets
What is a token economy model: allocation mechanisms, inflation design, and governance utility explained
Beware of Offline USDT Transaction Scams

What is cryptocurrency holding and capital flow: exchange inflows, staking rates, and on-chain concentration explained
Stay Alert to Frequently Seen Staking Scams in Crypto Space
What Do Crypto Derivatives Market Signals Tell Us About Future Price Movements