How to Set Up and Use a Multi-Chain Crypto Wallet

What is a Multi-Chain Crypto Wallet?
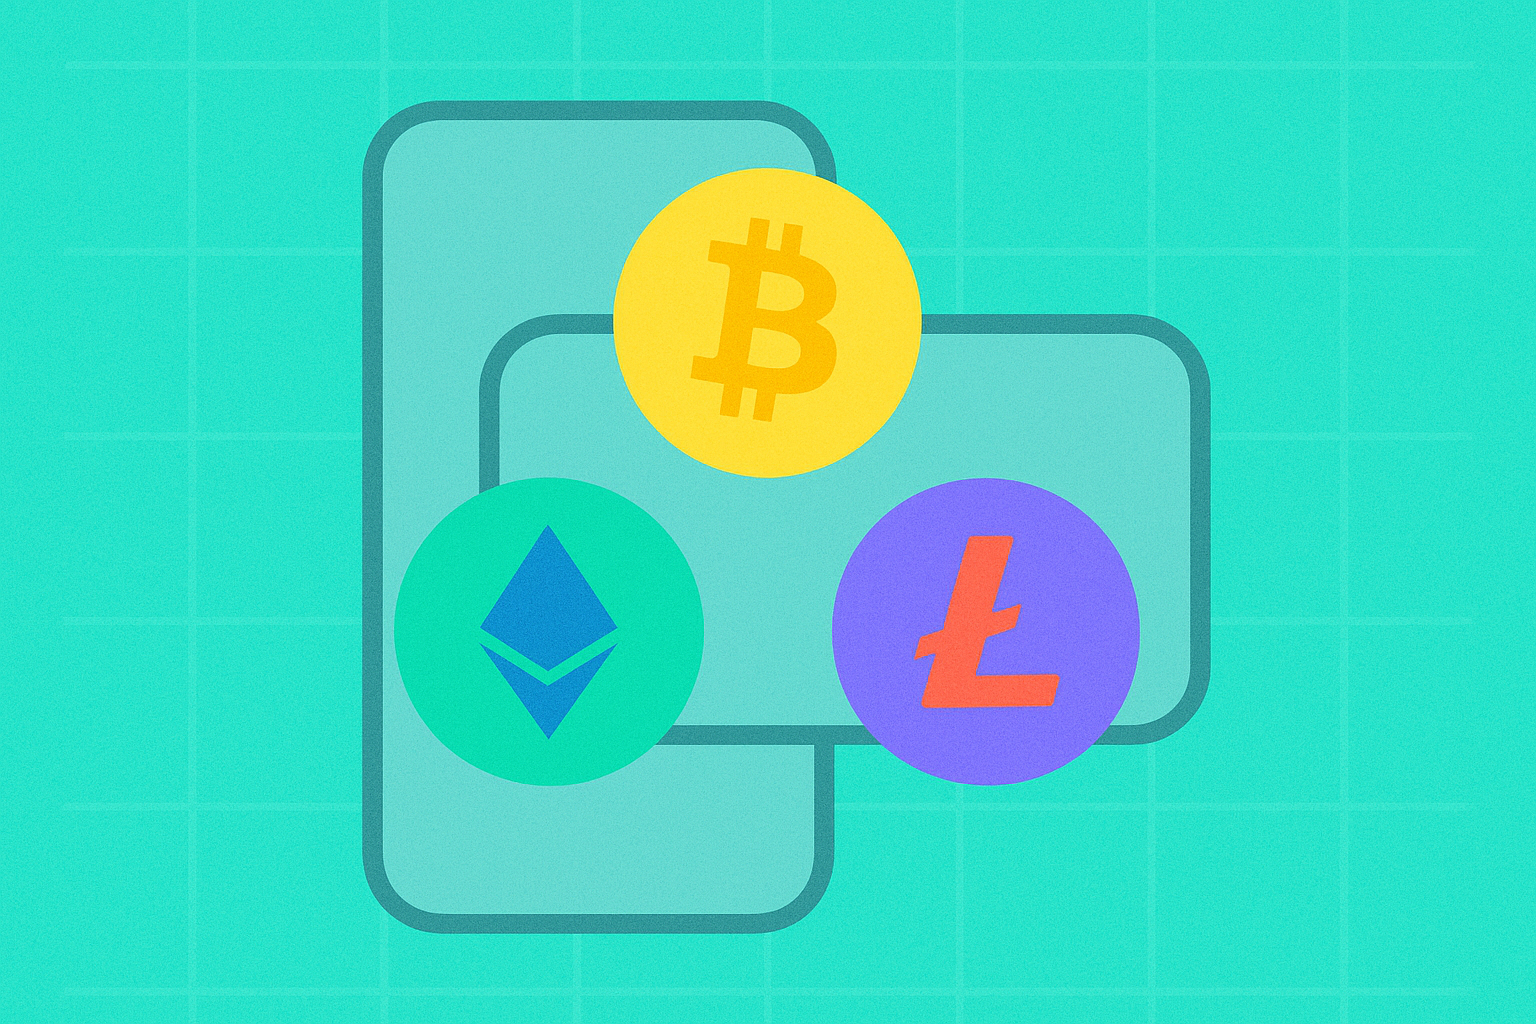
A multi-chain crypto wallet is an advanced digital asset management tool that enables users to manage, trade, and explore cryptocurrencies across multiple blockchain networks. These wallets have become essential infrastructure in the Web3 ecosystem, offering comprehensive solutions for both newcomers and experienced traders in the digital asset space.
Key features of modern multi-chain wallets include:
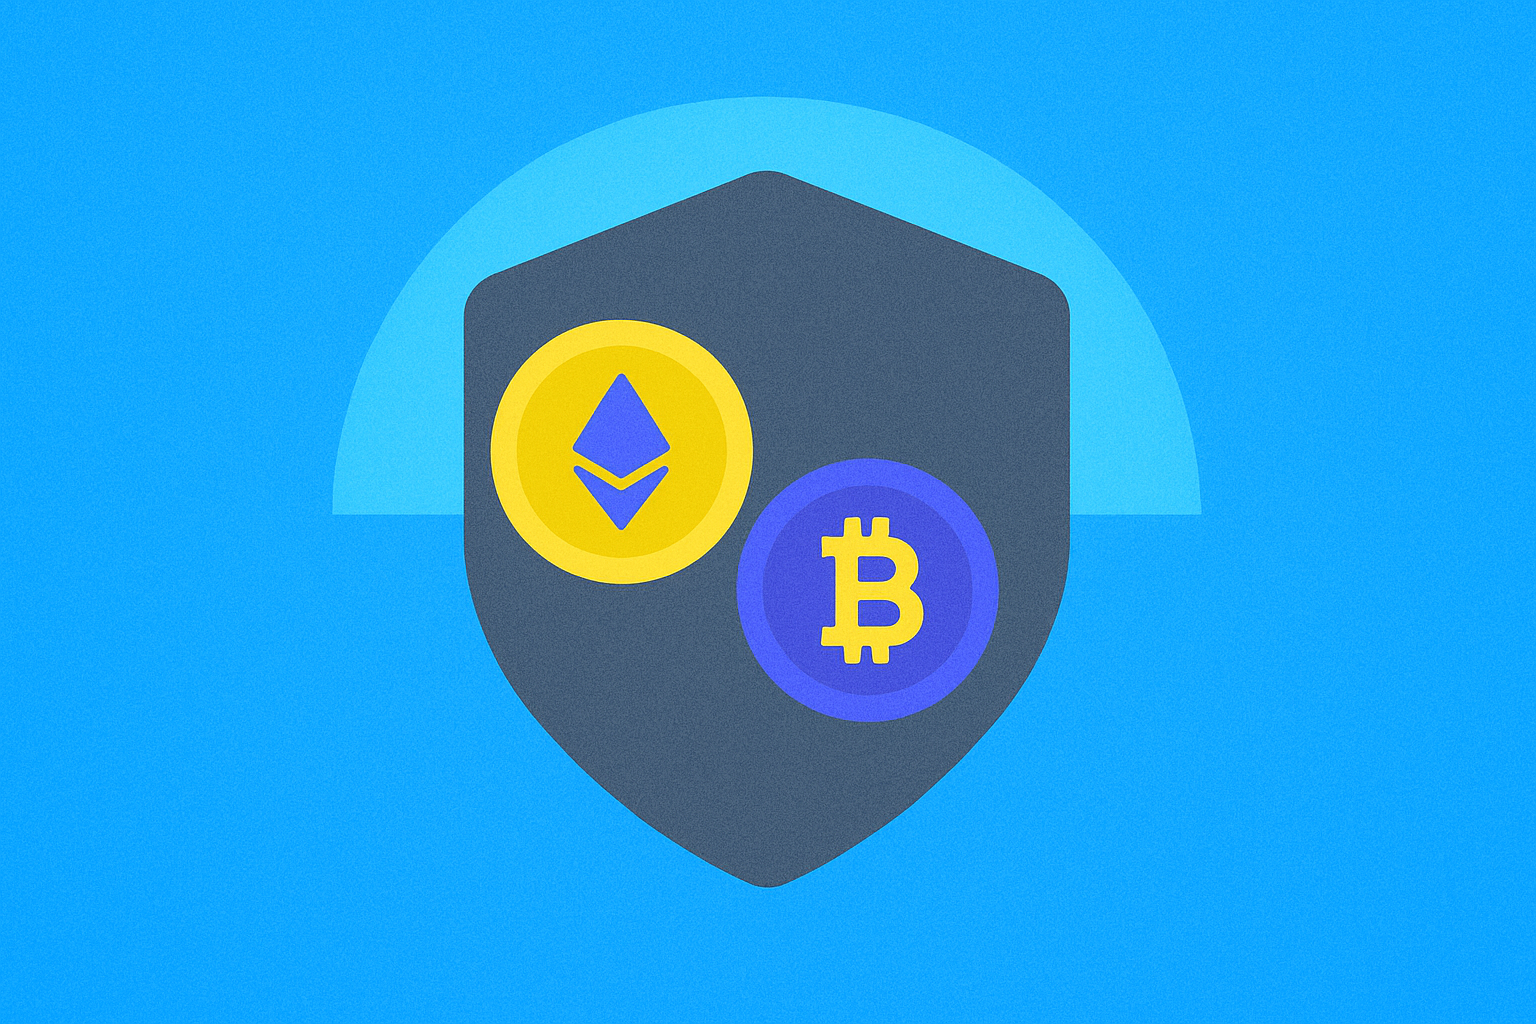
- Enterprise-Grade Security: Assets are safeguarded through advanced encryption technology and substantial protection funds, ensuring peace of mind for users storing significant value.
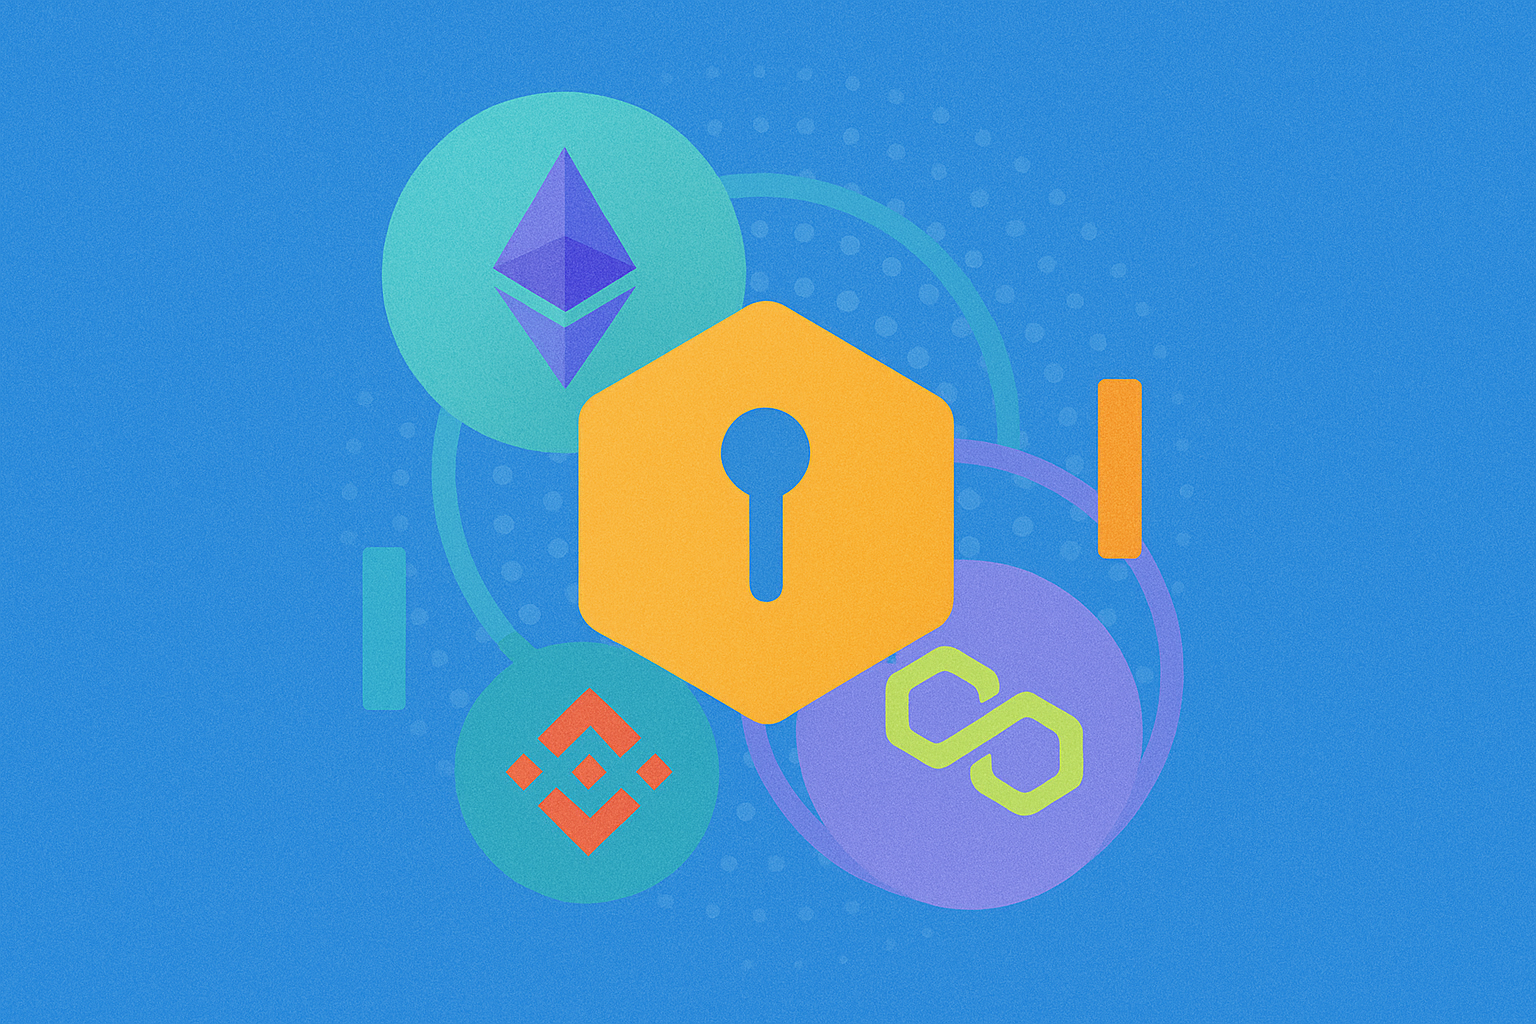
- Unified Asset Management: Support for hundreds of thousands of cryptocurrencies across 100+ blockchain networks, eliminating the need for multiple wallet applications.
- Advanced Trading Capabilities: Instant token swaps, seamless cross-chain exchanges, and real-time market data integration enable efficient trading operations.
- Comprehensive Web3 Access: Direct connection to thousands of decentralized applications (DApps), staking opportunities for passive income generation, and NFT marketplace integration.
- Global Trust and Adoption: Millions of users across numerous countries have adopted multi-chain wallet solutions, demonstrating their reliability and effectiveness.
The evolution of wallet technology has transformed these tools from simple storage solutions into comprehensive Web3 gateways, providing users with everything needed to participate fully in the decentralized economy.
Step 1: Downloading the Wallet Application
The first step in your Web3 journey is obtaining the wallet application. This process is straightforward and can be completed in minutes:
For Mobile Devices:
- Navigate to your device's official app store (App Store for iOS or Google Play for Android)
- Search for your chosen multi-chain wallet application
- Verify the developer information to ensure you're downloading the legitimate application
- Tap "Install" or "Get" to begin the download process
- Wait for the installation to complete before proceeding
Security Considerations:
- Always download wallet applications from official app stores to avoid malicious software
- Verify the developer name and check user reviews before installation
- Ensure your device has adequate security measures enabled, including screen lock and device encryption
- Keep your device's operating system updated to the latest version for optimal security
Desktop Options: Many wallet providers also offer browser extensions or desktop applications. These can be downloaded from the official website of the wallet provider. Always verify the URL carefully to avoid phishing sites.
Step 2: Creating Your Account
1. Initial Wallet Creation
Creating a new wallet is the foundation of your crypto journey. This process establishes your unique identity on the blockchain:
- Launch the wallet application after installation completes
- On the welcome screen, select "Create New Wallet" or similar option
- PIN Setup: You'll be prompted to create a Personal Identification Number (PIN)
- Choose a PIN that is memorable but difficult for others to guess
- Avoid obvious combinations like "1234" or your birth year
- Enter your chosen PIN and confirm it by entering again
- Upon successful creation, you'll see a confirmation message
- Your wallet is now created, but additional security steps are highly recommended
Understanding Your Wallet: Your newly created wallet consists of a public address (which you can share to receive funds) and a private key (which must remain confidential). The wallet application manages these cryptographic elements securely on your behalf.
2. Enabling Two-Factor Authentication (2FA)
Two-factor authentication adds a critical additional layer of security to your wallet. This feature requires two separate forms of verification before granting access, significantly reducing the risk of unauthorized access:
- From the main interface, locate and tap the settings or utility icon (typically in the top-right corner)
- Navigate to "Security Settings" or "Advanced Settings"
- Select "Two-Factor Authentication" or "Google Authenticator"
- Tap "Next" or "Enable" to begin the setup process
- The application will generate a setup key and QR code
I. Adding to Google Authenticator:
Google Authenticator generates time-based one-time passwords (TOTP) that change every 30 seconds:
- Secure the Setup Key: Copy the alphanumeric setup key or capture a photo of the QR code
- Store this information in a secure location separate from your device
- Open the Google Authenticator app on your smartphone
- Tap the "+" icon to add a new account
- Choose your preferred method:
- Scan QR Code: Use your camera to scan the displayed code
- Manual Entry: Input the setup key manually
- For manual entry:
- Enter an account name (e.g., "My Crypto Wallet")
- Paste or type the setup key
- Ensure "Time-based" is selected
- Tap "Add" to complete
- A 6-digit code will now appear in Google Authenticator, refreshing every 30 seconds
II. Linking Authentication with Your Wallet:
- Return to your wallet application
- Tap "Next" or "Continue" to proceed with verification
- Enter the current 6-digit code displayed in Google Authenticator
- You can use the "Paste" function if you've copied the code
- Enter your wallet PIN when prompted
- Upon successful verification, you'll see a "Bound" or "Enabled" status
- Your 2FA setup is now complete
Important Security Notes:
- Never share your 2FA setup key or QR code with anyone
- Consider backing up your 2FA setup key in a secure offline location
- If you lose access to your authenticator app, wallet recovery may be more complex
- Some wallets offer backup codes during 2FA setup—store these securely
Step 3: Setting Up Wallet Recovery
1. Creating and Securing Your Recovery Phrase
The recovery phrase (also called seed phrase or mnemonic phrase) is the master key to your wallet. Understanding its importance and handling it properly is crucial:
- In your wallet application, locate and select "Backup" or "Recovery Phrase"
- Read all security warnings and instructions carefully
- Select "Backup Mnemonic" or "Show Recovery Phrase"
- Enter your PIN to access this sensitive information
I. Understanding Recovery Phrases:
A recovery phrase typically consists of 12 or 24 words selected from a standardized list. These words, in their specific order, mathematically derive all your wallet addresses and private keys. This means:
- Anyone with your recovery phrase has complete control over your assets
- The phrase can restore your wallet on any compatible device
- There is no customer service or reset option if you lose this phrase
- Blockchain transactions are irreversible, making phrase security paramount
II. Proper Storage Methods:
The application will display your recovery phrase. Follow these best practices:
Recommended Storage Methods:
- Write the phrase on paper using pen, not pencil (which can fade)
- Consider metal backup solutions for long-term storage
- Store in a fireproof and waterproof safe
- Consider splitting the phrase and storing halves in separate secure locations
- Never store the phrase digitally (no photos, no cloud storage, no password managers)
Verification Process:
- After viewing your phrase, the system will test your backup
- You'll be asked to select specific words in order (e.g., "What is word #3?")
- This ensures you've recorded the phrase correctly
- Enter the requested words accurately
- Tap "Confirm" after completing verification
- A "Backup Succeeded" message confirms completion
Critical Warnings:
- Treat your recovery phrase like physical cash—anyone who possesses it owns your assets
- Wallet providers cannot recover your phrase if lost
- Be wary of anyone asking for your recovery phrase—it's always a scam
- Consider the phrase compromised if anyone else has seen it
2. Importing an Existing Wallet
If you're restoring a wallet or moving to a new device, you can import using your recovery phrase:
- Open the wallet application
- Select "Import Wallet" or "Restore Wallet"
- Choose "Mnemonic/Recovery Phrase" option
- Create a New PIN: Even when importing, you'll set a new PIN for this device
- Enter your PIN and confirm it
- Enter Recovery Phrase: Carefully type each word in the correct order
- Most wallets offer word suggestions as you type
- Double-check each word before proceeding
- Ensure proper spelling and spacing
- Tap "Confirm" or "Import" to proceed
- The wallet will derive your addresses and display your assets
- You'll be directed to the main interface, with all your previous assets accessible
Import Considerations:
- Importing a wallet on a new device doesn't remove it from the old device
- Both devices will have full access until you take action
- Consider the old device compromised and transfer assets to a new wallet if security is a concern
- Some wallets support importing multiple accounts or derivation paths
Step 4: Exploring Wallet Features
1. Comprehensive Asset Management
Modern multi-chain wallets offer sophisticated asset management capabilities:
- Navigate to the "Wallet" or "Assets" section in your application
- Here you'll see an overview of all your holdings across different blockchains
- Total portfolio value is typically displayed in your preferred fiat currency
I. Network Selection and Management:
- Tap "All Networks" or "All Mainnets" to view available blockchain networks
- Select a specific network to view assets on that chain (e.g., Solana, Ethereum, BSC)
- Each network displays:
- Native token balance (e.g., SOL for Solana)
- All tokens held on that network
- Network-specific transaction history
- Current gas fees or transaction costs
II. Token Management Interface:
Scroll down and select "Manage Tokens" to customize your token display:
Removing Tokens from Display:
- Tap the "-" icon next to any token
- This hides the token from your main view but doesn't affect your holdings
- Useful for removing dust (very small amounts) or tokens you don't actively track
- Removed tokens can be re-added at any time
Adding New Tokens:
- Tap the "+" icon to add tokens to your display
- Use the search bar to find specific tokens by name or contract address
- Browse "Trending" or "Popular" sections for commonly traded tokens
- Tokens you've received will appear automatically under "My Assets"
- Custom tokens can be added by entering their contract address
Portfolio Tracking Features:
- View 24-hour price changes for each token
- See your profit/loss for each holding
- Track total portfolio performance over time
- Export transaction history for tax purposes
- Set price alerts for specific tokens
2. Token Swapping and Trading
The swap feature enables direct token-to-token exchanges without leaving your wallet:
- Select "Trade" or "Swap" from the bottom navigation bar
- The swap interface displays:
- "From" token selector (what you're trading)
- "To" token selector (what you're receiving)
- Exchange rate and price impact
- Estimated transaction fees
Executing a Swap:
- Tap the "From" field to select your source token
- Enter the amount you wish to swap
- Tap the "To" field to select your destination token
- Review the exchange rate and any fees
- The interface may show:
- Price impact (how your trade affects the market)
- Minimum received (accounting for slippage)
- Route (which DEXs or liquidity pools are used)
- Tap "Swap" to proceed
- Confirm the transaction in the popup
- Wait for blockchain confirmation
Advanced Trading Features:
- Cross-Chain Swaps: Exchange tokens across different blockchains in a single transaction
- Slippage Tolerance: Adjust how much price movement you'll accept
- Transaction Speed: Choose between different gas fee levels
- Swap History: Access via the icon in the top-right corner
- View all past swaps
- Check transaction status
- See exact exchange rates received
- Export history for record-keeping
Trading Tips:
- Always verify the token contract address to avoid scams
- Be aware of price impact on low-liquidity tokens
- Consider transaction fees when swapping small amounts
- Use price limit orders if available for better execution
Step 5: Sending and Receiving Cryptocurrency
1. Sending Crypto Assets
Sending cryptocurrency requires careful attention to detail, as blockchain transactions are irreversible:
- Navigate to the "Wallet" section
- Locate and tap "Send" or "Transfer"
- Select the token you wish to send (e.g., SOL, ETH, or any token in your wallet)
- The network is automatically selected based on the token
Entering Recipient Information:
- In the "To" or "Recipient" field, enter the destination wallet address
- Address Entry Methods:
- Paste from clipboard
- Scan QR code (tap the QR icon and grant camera permission)
- Select from address book if you've saved contacts
- Amount Entry:
- Enter the quantity of tokens to send
- Or tap "Max" to send your entire balance (minus fees)
- The equivalent value in your local currency is typically displayed
- Optional Fields:
- Memo/Tag: Required for some exchanges and certain tokens
- Note: Personal reference (not sent on blockchain)
Transaction Review:
- Verify all details carefully:
- Recipient address (check first and last characters at minimum)
- Amount being sent
- Network fees
- Total cost (amount + fees)
- Tap "Confirm" or "Send" to proceed
- Enter your PIN or authenticate with biometrics
- The transaction is broadcast to the blockchain
- You'll receive a transaction ID (hash) for tracking
Safety Checklist Before Sending:
- Verify the recipient address is correct (blockchain transactions cannot be reversed)
- Ensure you're sending on the correct network (e.g., don't send ERC-20 tokens to a BSC address)
- Check that you have sufficient balance for both the amount and network fees
- For large amounts, consider sending a small test transaction first
- Be aware of required memos/tags for exchange deposits
- Never send tokens to a contract address unless you understand the implications
2. Receiving Cryptocurrency
Receiving crypto is simpler and safer than sending, as you're in control:
- Go to the "Wallet" section
- Tap "Receive" or "Deposit"
- Select the specific token and network you want to receive
- This is crucial: receiving on the wrong network can result in lost funds
Sharing Your Address: The application displays:
- Your wallet address (a long string of letters and numbers)
- A QR code representation of the same address
- Network name confirmation
Methods to Share:
- Copy Address: Tap to copy and paste into messages or emails
- Share QR Code: Use the "Share" button to send via messaging apps
- Display QR Code: Show your screen for in-person transfers
- Save QR Code: Download the image for later use
Receiving Best Practices:
- Always verify you're sharing the address for the correct network
- For first-time senders, consider having them send a small test amount first
- Check that the sender is using the same network you've specified
- Be patient: transaction confirmation times vary by network
- You don't need to keep the app open to receive funds
- Received funds appear automatically once blockchain confirmation occurs
Network-Specific Considerations:
- Some tokens exist on multiple networks (e.g., USDT on Ethereum, Tron, BSC)
- Always specify which network you're using to the sender
- Receiving on the wrong network may require complex recovery procedures
- Some exchanges require minimum deposit amounts
Step 6: Connecting to Decentralized Applications (DApps)
One of the most powerful features of modern crypto wallets is seamless DApp integration, opening access to the entire Web3 ecosystem:
1. Direct Search and Access
The built-in DApp browser provides a curated gateway to decentralized applications:
- Navigate to the "Discover" or "Browser" section in your wallet
- You'll see featured DApps organized by category:
- DeFi (Decentralized Finance)
- NFT Marketplaces
- Gaming
- Social platforms
- DAOs (Decentralized Autonomous Organizations)
Connecting to a DApp:
- Use the search bar to find a specific DApp by name
- Tap on the DApp when it appears in results
- The DApp loads within your wallet's browser
- Look for "Connect Wallet" or similar button on the DApp interface
- Tap to initiate connection
- Review the permissions requested:
- View your wallet address
- Request transaction signatures
- Access specific token balances
- Approve the connection
- You're now connected and can interact with the DApp
Popular DApp Categories:
- Decentralized Exchanges (DEXs): Trade directly from your wallet without intermediaries
- Lending Platforms: Earn interest on deposits or borrow against your crypto
- Yield Farming: Provide liquidity to earn rewards
- NFT Marketplaces: Buy, sell, and trade non-fungible tokens
- Gaming: Play blockchain games with real asset ownership
- Staking Platforms: Lock tokens to earn passive income
2. WalletConnect Integration
WalletConnect is a protocol that enables secure connections between wallets and DApps:
- If you have a WalletConnect QR code (from a desktop DApp or another source)
- In the "Discover" section, tap the QR code scan icon (usually in the top-right)
- Point your camera at the WalletConnect QR code
- The wallet automatically detects the connection request
- Review the DApp details:
- DApp name and URL
- Requested permissions
- Network requirements
- Tap "Approve" or "Connect" to establish the connection
- Your wallet is now linked to the external DApp
WalletConnect Use Cases:
- Connecting to desktop versions of DApps
- Linking to DApps on other devices
- Participating in token sales or airdrops
- Accessing DApps not available in the mobile browser
Managing DApp Connections:
- Regularly review connected DApps in your wallet settings
- Disconnect from DApps you no longer use
- Be cautious of unlimited token approvals
- Some wallets allow you to revoke specific permissions
Security Guidelines for DApp Usage
Interacting with DApps involves risks that require vigilance:
Before Connecting:
- Verify the DApp's URL carefully (watch for phishing sites)
- Research the DApp's reputation and audit status
- Check community feedback and reviews
- Understand what permissions you're granting
- Be especially cautious with new or unknown DApps
During Transactions:
- Always review transaction details before signing
- Understand what each transaction does
- Be wary of transactions requesting unusual permissions
- Never sign messages or transactions you don't understand
- Check gas fees to avoid overpaying
Token Approvals:
- Many DApps require token approval before use
- Limit approvals to specific amounts when possible
- Unlimited approvals are convenient but risky
- Regularly audit and revoke unnecessary approvals
- Use tools to check your active approvals
Red Flags to Watch For:
- DApps asking for your recovery phrase (always a scam)
- Unsolicited messages with DApp links
- Promises of guaranteed returns or "risk-free" investments
- Pressure to act quickly or miss out
- Poor grammar or unprofessional presentation
- Requests to send tokens to unknown addresses
Essential Security Practices
Securing your crypto wallet requires ongoing vigilance and adherence to best practices:
1. Recovery Phrase Security
Your recovery phrase is the single most important security element:
Storage Requirements:
- Store offline in a secure, physical location
- Use fireproof and waterproof storage solutions
- Consider metal backup plates for long-term preservation
- Never store digitally (no photos, cloud storage, or password managers)
- Keep multiple copies in separate secure locations
- Ensure trusted family members know where to find it in emergencies
Threat Awareness:
- Anyone with your phrase owns your assets
- There is no recovery if lost
- Wallet providers cannot help if you lose your phrase
- Phishing attempts often target recovery phrases
- Be suspicious of anyone asking for your phrase
2. Password and PIN Management
Creating Strong PINs:
- Use 6 or more digits if the wallet allows
- Avoid obvious patterns (1234, birth years, phone numbers)
- Don't reuse PINs from other accounts
- Change your PIN periodically
- Use biometric authentication when available
Additional Authentication:
- Enable two-factor authentication on all accounts
- Use hardware security keys for high-value wallets
- Keep authenticator backup codes secure
- Consider multiple authentication methods
3. Safe Browsing and Connection Practices
Website Verification:
- Always check URLs carefully before connecting
- Bookmark legitimate DApp sites
- Be wary of links from social media or messages
- Use official app stores for wallet downloads
- Verify developer information before installing
Connection Management:
- Only connect to trusted, audited DApps
- Disconnect from DApps after use
- Regularly review and revoke unnecessary permissions
- Be cautious with DApps requesting unusual access
- Use separate wallets for different purposes
4. Asset Distribution Strategy
Multi-Wallet Approach:
- Cold Storage Wallet: For long-term holdings, rarely accessed
- Hot Wallet: For active trading and DApp interactions
- Testing Wallet: For trying new DApps with minimal funds
This strategy ensures that even if one wallet is compromised, your entire portfolio isn't at risk.
Distribution Guidelines:
- Keep the majority of funds in cold storage
- Only keep necessary amounts in hot wallets
- Never store more than you can afford to lose in active wallets
- Regularly move profits from hot to cold storage
- Consider hardware wallets for significant holdings
5. Regular Security Audits
Maintain security through regular reviews:
Monthly Checks:
- Review all connected DApps and revoke unused connections
- Check token approvals and revoke unnecessary ones
- Verify transaction history for any unauthorized activity
- Update wallet software to the latest version
- Review security settings and authentication methods
Immediate Actions for Suspected Compromise:
- Transfer assets to a new wallet immediately
- Revoke all DApp connections
- Generate a new recovery phrase
- Change all related passwords and PINs
- Document the incident for potential reporting
6. Staying Informed
Continuous Learning:
- Follow official wallet social media for security updates
- Join community forums to learn about new threats
- Stay updated on common scam techniques
- Understand new features before using them
- Be skeptical of too-good-to-be-true opportunities
Common Scam Awareness:
- Fake customer support (official support never asks for phrases)
- Airdrop scams requiring wallet connections
- Impersonation of popular projects
- Phishing websites mimicking legitimate platforms
- Social engineering attempts via direct messages
Conclusion
Successfully setting up and using a multi-chain crypto wallet opens the door to the expansive world of Web3 and decentralized finance. By following these six comprehensive steps—from initial download through DApp integration—you've established a secure foundation for managing digital assets and participating in the blockchain ecosystem.
A modern crypto wallet is far more than a simple storage solution. It serves as your personal gateway to decentralized exchanges, lending platforms, NFT marketplaces, and thousands of innovative applications being built on blockchain technology. The wallet you've configured provides the tools necessary to trade efficiently, earn passive income through staking, and explore new opportunities as they emerge.
Security remains paramount throughout your journey. The practices outlined in this guide—from properly securing your recovery phrase to carefully vetting DApp connections—form the foundation of safe crypto asset management. Remember that in the decentralized world, you are your own bank, which means both the freedom and responsibility rest entirely with you.
As you begin exploring the features of your wallet, start conservatively. Test each function with small amounts before committing significant value. Take time to understand how different networks operate, how gas fees work, and how to verify transactions. The learning curve may seem steep initially, but the knowledge you gain will serve you well as the blockchain ecosystem continues to evolve.
The Web3 space is rapidly developing, with new opportunities and innovations emerging regularly. Your wallet is the tool that enables you to participate in this revolution, whether you're interested in trading, investing, gaming, or simply exploring new technologies. By maintaining strong security practices and staying informed about developments in the space, you'll be well-positioned to take advantage of opportunities while protecting your assets.
Begin your exploration today with confidence, knowing you've established a secure and capable platform for your Web3 journey. The potential of decentralized technology is vast, and with the right tools and knowledge, you're equipped to navigate this exciting new frontier safely and effectively.
FAQ
What is a multi-chain crypto wallet and how does it differ from a single-chain wallet?
A multi-chain wallet supports multiple blockchains, enabling cross-chain operations and greater flexibility. Unlike single-chain wallets that only work on one blockchain, multi-chain wallets allow you to manage diverse assets across networks, offering enhanced security and broader functionality for crypto management.
How to choose and download a suitable multi-chain crypto wallet application?
Select a multi-chain wallet by prioritizing security, multi-chain support, and user reviews. Download only from official websites or trusted app stores. Choose verified applications with strong user ratings and transparent security features.
What are the steps to initialize and create an account in a multi-chain wallet?
Select a multi-chain wallet, register an account, download and install the application, then create a new wallet or import an existing one using your private key or seed phrase.
How to add and manage different blockchain networks in a multi-chain wallet?
Click 'Me' - 'Wallet Management' - 'Add Account', then select desired networks. Manage networks by switching between them in wallet settings to view balances and conduct transactions across different blockchains seamlessly.
How to import or create private keys and recovery phrases in a multi-chain wallet?
To create a private key, generate it securely within the wallet. To import, select the import option and enter your recovery phrase or private key. Name your wallet, then complete the import process. Your assets will sync automatically. Always securely back up your recovery phrase.
How does a multi-chain wallet receive cryptocurrencies on different chains?
A multi-chain wallet generates independent addresses for each blockchain. Each chain has its own unique address where you can receive crypto. Simply select the desired chain in your wallet, copy the corresponding address, and share it to receive funds on that specific blockchain.
How to transfer funds between different blockchains using a multi-chain wallet?
Add the target blockchain network to your wallet, initiate the transfer by selecting the destination chain, enter the recipient address and amount, review the transaction details including network fees, and confirm to complete the cross-chain transfer.
How should private keys and recovery phrases of multi-chain wallets be safely stored?
Store private keys and recovery phrases offline, never on connected devices. Keep them in multiple secure locations using metal backups resistant to fire and water. Consider splitting them into parts using a threshold scheme for enhanced security.
Which major blockchain networks does a multi-chain wallet support, such as Ethereum, Binance Chain, Polygon, etc.?
Multi-chain wallets support Ethereum (ETH), Binance Smart Chain (BSC), Polygon, Arbitrum, Optimism, and other major networks. They enable unified management across multiple blockchains for seamless asset transfers and interactions.
What security risks and protective measures should I be aware of when using a multi-chain wallet?
Be cautious of phishing sites and malware. Enable two-factor authentication, keep software updated regularly, verify contract addresses before transactions, use hardware wallets for large holdings, and never share private keys or seed phrases with anyone.
Exploring WalletConnect: A Step-by-Step Guide to Connecting with Web3
Introduction to MetaMask: A Beginner's Guide to Crypto Wallets
Discover Top Crypto Wallet Extensions: 2025 Download Guide for Mobile and Desktop
Evaluating Secure Web3 Wallet Solutions in Indonesia for 2025: Insights on Security and Legality

Secure Digital Wallet Solutions for Web3 Trading
Top Secure Online Wallets for Web3 Solutions

MPC Wallet: Experience a new level of secure and seamless crypto asset management
Roam Listing Details: Launch Date, Price Predictions, and How to Buy $ROAM

DePIN: Hardware Set to Transform Web3
MACD指標是什麼?

Bitget Wallet Valued at $300 Million After Investment from Mainstream Exchange, Boasts 10 Million Users