The complete guide to managing BTC in Web3 wallets

Adding the BTC Mainnet
Before you can manage BTC assets, you must first add the Bitcoin mainnet to your wallet. The Bitcoin mainnet is the foundational network environment for BTC assets. Only with the network connection properly configured can you proceed with asset management operations.
 Here are the detailed steps to add the BTC mainnet:
Step 1: Open a leading Web3 wallet app and select the [All Networks] option at the top of the home screen. This gives you access to manage and switch between different blockchain networks.
Step 2: Enter [Bitcoin] in the network search bar. The system will show Bitcoin network results, enabling you to quickly locate the Bitcoin mainnet.
Step 3: Click the [+] button next to the Bitcoin result. The system will then prompt you for security verification—simply follow the on-screen steps to complete identity verification. This verification step ensures the security of network additions.
Step 4: After verification, return to the home screen. The default network should now be set to [Bitcoin]. You can click the copy button in the address bar to get your Bitcoin wallet address, which you’ll use to receive BTC assets.
Once you’ve added the mainnet, your wallet is ready to support BTC asset management—including receiving, sending, and trading BTC.
Adding BTC Assets
Once you’ve connected to the Bitcoin mainnet, the next step is to add BTC assets to your wallet. You can obtain BTC in two main ways: by receiving a transfer from another wallet address or by purchasing directly with fiat currency. Each method has its own advantages, so you can choose whichever suits your needs best.
Receiving BTC Assets
If you already hold BTC on another platform or wallet, you can transfer those assets into your current wallet. The process is simple—just provide the correct receiving address. Here’s how to receive BTC:
Step 1: On the wallet home screen, tap the [+] button to open the asset addition interface.
Step 2: In the search bar, enter [BTC]. The system will display the Bitcoin asset—tap to access the receiving page.
Step 3: The receiving page displays your BTC wallet address and a QR code. You can copy the address or have the sender scan the QR code to complete the transfer. Using the QR code helps prevent input errors, ensuring the security and accuracy of your transfer.
Step 4: After initiating the transfer, wait for confirmation from the Bitcoin network. Once confirmed, return to the wallet home screen—your new BTC assets will appear in your asset list, showing the specific quantity and value.
When receiving BTC, it’s best to do a small test transfer first to confirm the address is correct before sending larger amounts. This can help prevent asset loss.
Acquiring BTC with the Quick Buy Feature
If you don’t yet own BTC, certain leading Web3 wallets integrate over-the-counter (OTC) payment services, allowing you to purchase BTC directly with fiat currency. This is ideal for crypto newcomers, letting you acquire BTC quickly without using an exchange. Here’s how to buy BTC with fiat:
Step 1: On the wallet home screen, tap the [Buy] button to enter the buying interface.
Step 2: Select [Buy Cryptocurrency]. The system will display a list of authorized third-party payment channels that securely convert fiat to crypto.
Step 3: On the purchase page, enter your transaction details. First, choose [BTC] as the token. Then verify that the network type is set to [BTC] mainnet. Finally, enter the fiat amount you want to pay. The system automatically calculates the BTC amount you’ll receive.
Step 4: Review available payment channels and choose the one that fits your needs. Note that supported channels may vary by region, so pick one available in your location.
Step 5: On the payment screen, review all transaction details—including purchase amount, BTC quantity, and fees. If everything looks correct, follow the on-screen instructions to complete the payment. After payment, your BTC will be credited to your wallet shortly.
Some wallets also offer peer-to-peer (P2P) trading for even more buying options. P2P lets you trade directly with others, often with more flexible payment terms and better pricing.
Trading BTC via Integrated Swap
If you already hold other cryptocurrencies, you can use your wallet’s decentralized swap feature to exchange those tokens for BTC. This lets you swap assets without leaving the wallet app, providing both convenience and security. Decentralized swaps use smart contracts to execute trades automatically, ensuring transparency and safety. Here’s how to use the swap feature to get BTC:
Step 1: On the wallet home screen, tap the [Swap] button. The system will take you to the integrated decentralized exchange interface, which aggregates multiple liquidity sources for the best swap prices.
Step 2: At the top of the trading page, tap [Swap] again. You can also go to the market overview and tap the [BTC] button below the price chart to access the BTC trading page directly.
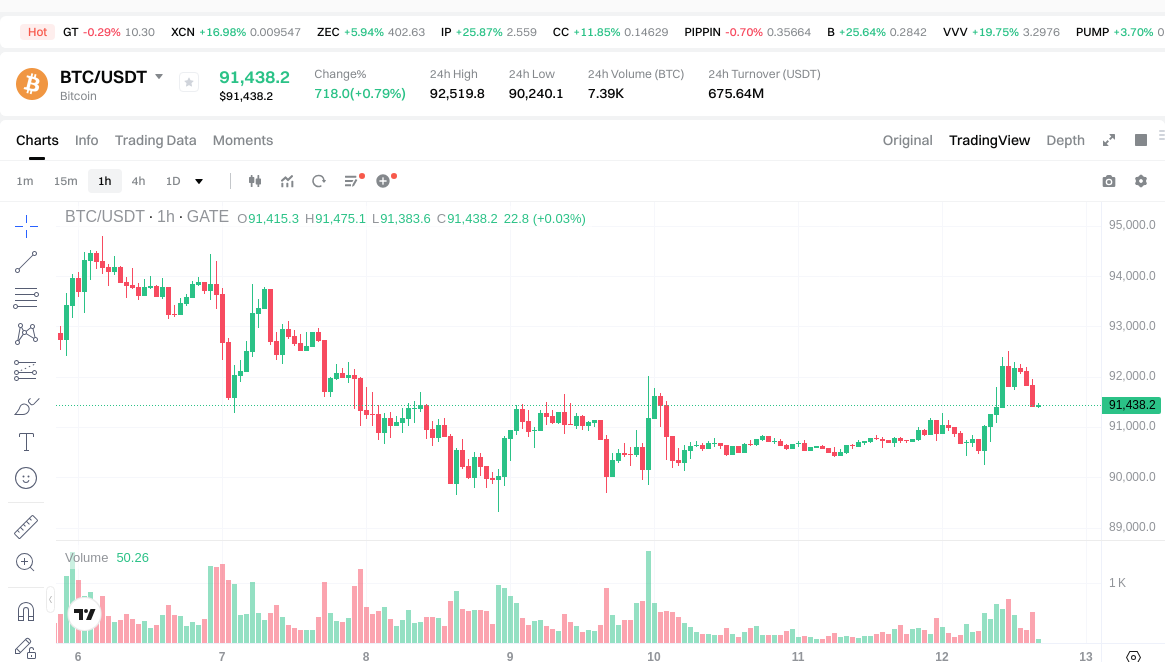
Step 3: On the BTC asset details page, tap [Buy] to start the swap. You can view BTC’s live price, historical trends, 24-hour volume, and your past trades to inform your decisions.
Step 4: In the swap settings, enter your transaction details. Select the token type and amount to pay. The system will automatically calculate the BTC you’ll receive and display the swap rate and estimated fee. After confirming all details, tap [Confirm].
Step 5: The system will show a confirmation window with full transaction details for your final review. If correct, select [Continue] and follow the security verification steps. Once verified, the smart contract will execute the swap—usually within seconds or a few minutes, depending on network congestion.
Swapping BTC through a decentralized exchange gives you greater privacy and control, since your assets never leave your wallet or get entrusted to a third party.
Interacting with the BTC Ecosystem
Bitcoin is more than a digital currency—it’s a thriving ecosystem of decentralized applications (DApps) and innovative protocols. Leading Web3 wallets offer integrated DApp browsers so users can easily explore and use Bitcoin ecosystem apps, unlocking new value from their BTC assets.
To access Bitcoin DApps, tap the [DApp] button on your wallet home screen to open the DApp browser. In the DApp browser, go to the [Bitcoin] section for a curated list of the most popular and innovative decentralized apps in the Bitcoin ecosystem.
These DApps span multiple categories, including:
- Decentralized Finance (DeFi) Apps: Offer lending, liquidity mining, yield aggregation, and other financial services so you can earn more from your BTC
- NFT Marketplaces and Ordinals Platforms: Enable you to create, trade, and collect digital art and inscription assets on the Bitcoin network
- Cross-Chain Bridge Tools: Facilitate asset transfers between Bitcoin and other blockchains for cross-chain interoperability
- Payment and Transfer Apps: Provide fast, low-cost BTC transfer options, including Lightning Network applications
- Asset Management Tools: Help you track and manage your BTC portfolio more effectively
The DApp browser lets you seamlessly explore these apps without switching platforms—all interactions occur within your wallet. This integrated approach lowers the entry barrier, so anyone can easily participate in Bitcoin ecosystem innovation.
Future Outlook
As the Bitcoin ecosystem continues to evolve, Web3 wallets are deepening their support for network innovation. Looking forward, leading wallet platforms will focus on strengthening technical infrastructure and optimizing product functionality, with emphasis on several key technology areas.
Lightning Network support will be a major priority. As Bitcoin’s layer-2 scaling solution, Lightning enables near-instant confirmations and ultra-low fees. Wallet providers plan to support all Bitcoin address formats—including legacy, SegWit, and Taproot—for Lightning transactions. This will dramatically improve transfer efficiency and deliver faster, more affordable transactions for users.
For cross-chain interoperability, wallet platforms are building seamless swap capabilities between the Bitcoin mainnet and Lightning Network. This lets users move assets freely between layers and pick the best network for each transaction. Platforms are also advancing cross-chain swaps between BTC and Ethereum Virtual Machine (EVM)-compatible chains, giving users more trading options and portfolio diversity.
Support for emerging protocols and standards is another major focus. Platforms are actively researching the Taproot Asset Protocol for asset issuance and management on Bitcoin, as well as tracking innovations like the Nostr communication protocol, BRC-20, and ARC-20 inscription standards. These technologies point to the future of the Bitcoin ecosystem, promising richer applications and user experiences.
Through continuous technical advancement and feature upgrades, Web3 wallets are committed to delivering more complete, secure, and user-friendly BTC asset management—driving the long-term growth and prosperity of the Bitcoin ecosystem. This openness to emerging technology and rapid adaptation highlights these platforms’ roles as innovation leaders in crypto.
FAQ
What is a Web3 wallet, and how is it different from an exchange wallet?
A Web3 wallet gives you full control over your private keys and assets, offering greater security and autonomy. Exchange wallets are managed by the platform—they’re more convenient but require trust in a third party. Web3 wallets are more decentralized, while exchange wallets are better for frequent trading.
How do I create or import a Bitcoin account in a Web3 wallet?
Open your Web3 wallet, go to [Account] — [Wallet Management], select [Import Wallet], enter your Bitcoin mnemonic phrase or private key, and follow the prompts to complete the import.
What security measures should I follow for BTC in a Web3 wallet?
Your top priority is protecting your private key—never share it. Use strong passwords and two-factor authentication for added security. Safeguard your private key with encrypted, geographically distributed offline backups. Regularly check your wallet’s security settings and avoid managing assets on public networks.
How do I send and receive BTC with a Web3 wallet?
To send, enter the recipient address or scan their QR code, then confirm to send. To receive, copy your BTC wallet address or generate a QR code to share. Once the transaction is confirmed, it’s complete.
What are private keys, mnemonic phrases, and addresses in a Web3 wallet, and how should I store them?
Your private key is your proof of ownership, the mnemonic phrase is its backup, and your address is your public account identifier. Store private keys and mnemonic phrases offline using cold or hardware wallets—never on internet-connected devices—and back them up regularly in secure locations.
What are some popular Web3 wallets, and what are their pros and cons?
Popular Web3 wallets include MetaMask, Ledger, and Trust Wallet. MetaMask is easy to use but less secure; Ledger is the most secure hardware wallet but more complex; Trust Wallet supports multiple chains but has simpler features. Choose based on your balance of security and convenience needs.
How do I check BTC transaction status and confirmations in a Web3 wallet?
Enter your BTC transaction hash in the wallet and use a blockchain explorer (like Blockstream or Blockchain.com) to view real-time status, confirmation count, and details.
What are gas fees in a Web3 wallet, and how do they apply to BTC transfers?
Gas fees are required for transaction confirmation. In BTC transfers, wallets typically preset the fee, e.g., 0.0000315 BTC. You can adjust it manually based on network congestion, using advanced features like Priority Fee in MetaMask to balance speed and cost.
How do I withdraw BTC from an exchange to a Web3 wallet?
Log in to your exchange, go to the withdrawal page, select BTC, enter your Web3 wallet address, confirm the amount and fee, and submit the withdrawal after identity verification.
What should I do if my Web3 wallet is lost or stolen to recover and protect my BTC?
Immediately use your mnemonic phrase to restore your wallet on a new device, update your password, and enable two-factor authentication. Monitor BTC transactions, revoke access from old devices, and secure your assets.
Top Bitcoin Wallets for Beginners in 2023
Understanding Bitcoin Wallet Addresses: A Beginner's Guide

Understanding Bitcoin Wallet Addresses: Essentials for Crypto Transactions
Top Choices for Secure Cryptocurrency Storage Devices
Ultimate Security for Your Bitcoin: Choosing the Right Hardware Wallet

Offline Cryptocurrency Storage: Enhance Security with Paper Wallets
All About MetaDAO: The Solana-Based DAO That Tripled
What is ZetaChain?
EigenLayer 1.29MM Token Unlock: $EIGEN Airdrop Guide, Price Prediction, and Claiming Eligibility
How to Buy Ethereum (ETH) on Web3 Wallets: A Complete Guide

What is GoPlus ($GPS)? Key Listing Info, Price Prediction and Investment Guide