How to Buy Ethereum (ETH) on Web3 Wallets: A Complete Guide
Introduction
Buying Ethereum (ETH) through modern Web3 wallet solutions has become increasingly straightforward in recent years. Leading platforms offer secure, intuitive interfaces packed with advanced features. These solutions typically support over 130 blockchains and provide access to more than 1 million tokens—all within non-custodial interfaces trusted by tens of millions of users worldwide. They also offer Ethereum-specific tools like token swaps, staking mechanisms, DApp integration, and NFT marketplaces, making them complete solutions for managing your ETH holdings.
The process typically involves creating or importing a wallet, verifying your account, adding funds via card, bank transfer, or peer-to-peer methods, and purchasing ETH instantly. Once acquired, you can store, stake, or swap your Ethereum securely—all within an all-in-one Web3 platform that puts you in full control of your digital assets.
Key Takeaways
- Modern Web3 wallets support over 130 blockchains, provide access to more than 1 million tokens, and offer dedicated Ethereum management tools
- Multiple funding options are available including card payments, bank transfers, P2P trading, and crypto deposits
- ETH purchases are processed instantly, with integrated options to store, stake, or swap directly within the application
- Non-custodial architecture ensures you maintain complete control over your private keys and assets
What Is Ethereum and Why Buy ETH Through Web3 Wallets?
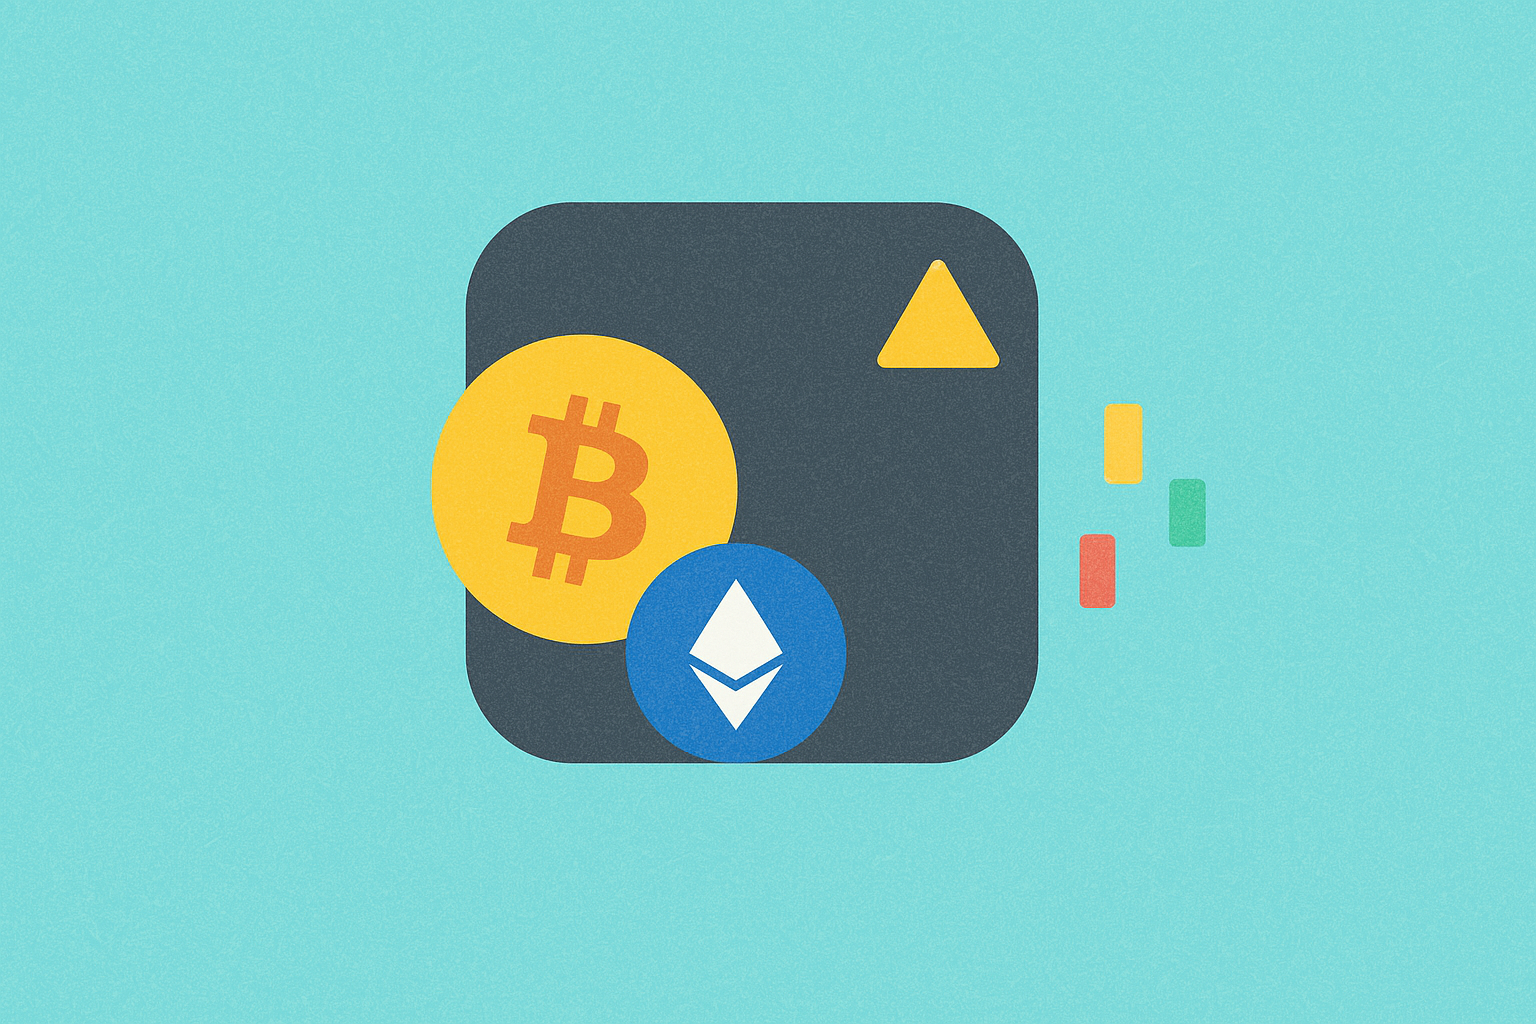
Ethereum is a decentralized blockchain platform that enables smart contracts and decentralized applications (dApps) to function without intermediaries. Its native token, ETH, serves multiple critical functions: it powers transaction execution, secures the network through proof-of-stake validation, and serves as the foundational currency for much of the decentralized finance (DeFi) ecosystem and NFT marketplace. As the second-largest cryptocurrency by market capitalization, ETH offers both immediate utility and significant long-term value potential for investors and users alike.
Purchasing Ethereum through advanced Web3 wallet platforms provides access to multiple acquisition methods—from traditional card and bank transfer options to peer-to-peer trades and instant crypto swaps—all integrated within a secure, user-friendly application. With built-in DEX aggregators, these platforms deliver competitive swap rates, robust MPC (Multi-Party Computation) security infrastructure, and seamless staking options, making them among the most efficient ways to acquire and manage ETH in the current digital asset landscape.
What Makes Advanced Web3 Wallets Different from Traditional Wallets?
Modern Web3 wallet solutions enable in-app buying and selling of Ethereum and other digital assets without requiring third-party platform logins or external service integrations. These platforms support cross-chain purchases, including various Bitcoin implementations like BTC, BTCB, and wrapped BTC across multiple blockchain networks. Security is implemented through advanced MPC technology combined with user-controlled private keys, ensuring you always maintain non-custodial control over your assets. This means your funds remain under your direct ownership rather than being held by a centralized entity, significantly reducing counterparty risk and enhancing your financial sovereignty.
Can You Buy Ethereum in Real-Time?
Yes, absolutely. The integrated "Buy" feature in leading Web3 wallets processes Ethereum purchases in seconds to a few minutes, depending on your selected payment method and current network traffic conditions. This same technological infrastructure powers instant cross-chain purchases, allowing you to acquire Bitcoin and other cryptocurrencies on mobile devices just as quickly. The speed and efficiency of these transactions make it possible to capitalize on market opportunities as they emerge, without the delays traditionally associated with cryptocurrency purchases.
How to Create an Ethereum Wallet on Web3 Platforms?
The step-by-step process for acquiring Ethereum begins with creating your secure wallet. Leading Web3 wallet solutions are available for iOS, Android, and as browser extensions, enabling you to manage ETH wherever you are and across all your devices with seamless synchronization.
Follow this comprehensive guide to creating your Ethereum wallet:
-
Step 1: Download the Application - Obtain the wallet software from official sources such as the App Store, Google Play, or verified browser extension marketplaces. Always verify you're downloading from legitimate sources to avoid phishing attempts.
-
Step 2: Initialize Your Wallet - Create a new wallet (you'll receive a 12 or 24-word seed phrase—write it down and store it in a secure, offline location) or import an existing wallet using your seed phrase or private key. This seed phrase is the master key to your assets and should never be shared or stored digitally.
-
Step 3: Configure Ethereum Support - Navigate to the asset page and check if Ethereum (ETH) is already listed in your wallet. If not, tap "Add Token/Network" and enable Ethereum support. This ensures your wallet can properly display and manage ETH transactions.
-
Step 4: Verify Wallet Activation - Locate your native ETH token in the wallet dashboard to confirm it's active and ready to receive funds. You should see your Ethereum address displayed, which you can use to receive ETH from other sources.
Once your wallet is properly set up and secured with your seed phrase safely stored offline, you can proceed to fund it and purchase ETH using fiat currency, stablecoins, or other cryptocurrency swap options.
How Can You Buy Ethereum (ETH) Using Different Methods?
Advanced Web3 wallets offer multiple acquisition pathways for Ethereum, allowing users to select the method that best aligns with their geographic location, payment preferences, and existing digital asset holdings. You can purchase ETH directly with fiat currency through integrated OTC (over-the-counter) services, use stablecoins like USDT or USDC to swap instantly, fund your wallet with credit or debit cards, or trade via secure peer-to-peer marketplaces. Each method offers distinct advantages in terms of transaction speed, associated fees, and overall convenience, giving you flexibility to choose the optimal approach for your specific situation.
How to Add Funds with Fiat Currency to Buy Ethereum?
Integrated OTC services in modern Web3 wallets support major payment methods including Visa, Mastercard, Apple Pay, Google Pay, and USD credit cards, along with numerous regional payment channels tailored to specific markets. Supported fiat currencies typically include USD, EUR, GBP, PHP, BRL, INR, and many others, depending on your geographic location and local regulations.
To begin the process, navigate to the Markets tab in your wallet interface, search for Ethereum (ETH), and tap the Trade option. Select your preferred fiat payment provider from the available options (Visa, Mastercard, Apple Pay, Google Pay), enter your desired purchase amount, and confirm the transaction details. Most transactions settle within minutes, though some fiat purchases may require KYC (Know Your Customer) verification or experience processing delays if flagged by your bank's fraud prevention systems or payment processor security protocols.
How to Buy Ethereum with Stablecoins (USDT, USDC)?
If you already hold stablecoins in your portfolio, the integrated swap feature allows you to convert USDT or USDC to ETH instantly without leaving the wallet interface. Supported blockchain networks typically include Ethereum mainnet, BNB Chain, Polygon, and TRON, with network transaction fees varying by chain congestion and complexity. This functionality also supports cross-chain Ethereum purchases, enabling you to swap a stablecoin on one network for ETH on another network without manual bridging or complex technical procedures, significantly simplifying the user experience.
How to Buy Ethereum with a Credit or Debit Card?
Modern Web3 wallets integrate seamlessly with Visa and Mastercard payment processors for streamlined card payment experiences. To purchase Ethereum with a credit card, select ETH in the "Buy" menu, choose your local currency, enter the amount you wish to purchase, and complete the payment process through the secure payment gateway. First-time fiat buyers must typically complete KYC verification to comply with financial regulations, and purchase limits depend on your account verification level and payment provider restrictions.
How to Buy Ethereum via Peer-to-Peer (P2P) Trading?
Integrated P2P marketplaces enable direct buyer-to-seller trades within the wallet application, creating a decentralized marketplace for Ethereum acquisition. ETH is held in smart contract escrow until payment confirmation is received, ensuring both transaction parties are protected from fraud. Available payment methods include bank transfers, digital wallets, and localized payment options, depending on your country and the seller's preferences. P2P trading offers zero platform fees in many cases, though individual sellers may set their own exchange rates and premiums based on market conditions and payment method convenience.
What Other Ways Can You Buy Ethereum on Web3 Wallets?
Beyond purchasing ETH directly with fiat currency or stablecoins, advanced Web3 wallets enable you to acquire Ethereum by swapping from other cryptocurrencies you already hold in your portfolio. With support for over 250,000 digital assets across 90+ blockchain mainnets, integrated swap tools make it possible to convert tokens instantly—even across different blockchain ecosystems—without leaving the application interface or requiring external exchange services.
Can You Swap Other Tokens to Ethereum?
Yes, comprehensive swap functionality allows you to convert thousands of cryptocurrencies into ETH instantly through integrated decentralized exchange aggregators. Key capabilities include:
-
Extensive Asset Support: Swap from over 1 million supported tokens across 130+ blockchains—all within a non-custodial interface that maintains your asset control throughout the transaction process.
-
Cross-Chain Swap Technology: Utilize advanced cross-chain swap mechanisms to convert assets from one blockchain network to Ethereum without manual bridging procedures, eliminating the technical complexity and security risks associated with traditional bridge protocols.
-
InstantGas Feature: Take advantage of innovative InstantGas technology, which automatically provides sufficient gas fees for your first transaction on the destination chain when you perform a swap, eliminating the common problem of being unable to move newly acquired tokens due to insufficient native gas tokens.
Step-by-Step Guide: How to Buy Ethereum on Web3 Wallets
Purchasing ETH through modern Web3 wallet platforms is fast, secure, and designed with beginner-friendly interfaces. The complete process can typically be completed in minutes, whether you're using fiat currency, stablecoins, or the integrated P2P marketplace. Below is a detailed step-by-step walkthrough to help you acquire your Ethereum and prepare it for swaps, staking, or secure storage without unnecessary complications.
-
Step 1: Download and Install the Wallet Application - The software is available on iOS, Android, and as a browser extension for Chrome and other compatible browsers. Choose the platform that best suits your primary usage device.
-
Step 2: Create or Import Your Cryptocurrency Wallet - Choose "Create Wallet" for a new setup or "Import Wallet" if you already have an existing wallet you wish to access. Ensure you secure your seed phrase offline in a physical location that only you can access.
-
Step 3: Complete KYC Verification (If Required) - For fiat currency purchases, you'll need to verify your identity through the linked account system. This typically involves providing government-issued identification and proof of address to comply with financial regulations.
-
Step 4: Select "Buy" and Choose Ethereum (ETH) - Tap the "Buy Crypto" button, then select Ethereum from the comprehensive asset list. The interface will display current market prices and available purchase methods.
-
Step 5: Pick Your Preferred Payment Method - Available options include stablecoins, credit/debit cards, or P2P trading. Each method has different processing times and fee structures, so choose based on your priorities.
-
Step 6: Enter Purchase Amount and Confirm Transaction - Input the amount of ETH you wish to purchase or the fiat amount you want to spend, carefully review all associated fees and final amounts, and confirm the transaction when you're satisfied with the details.
-
Step 7: Receive ETH in Your Wallet Instantly - Your purchased ETH will appear in your wallet balance within seconds to minutes, depending on network conditions and payment method. You can immediately begin using your Ethereum for staking, swapping, or interacting with DeFi protocols.
How Can You Send Ethereum from Your Web3 Wallet?
Once you've successfully purchased ETH, you may want to transfer it to another wallet address, send it to a centralized exchange, or move it to a DeFi platform for yield farming or other activities. Modern Web3 wallets make sending Ethereum straightforward while giving you complete control over network selection and transaction fee management. Always double-check the recipient address and selected network before confirming any transaction to avoid irreversible losses, as blockchain transactions cannot be reversed once confirmed.
-
Step 1: Open the "Send" Feature - From your wallet dashboard, select Ethereum (ETH) from your asset list, then tap the "Send" button to initiate a transfer.
-
Step 2: Enter Recipient Address or Scan QR Code - Paste the destination wallet address or scan the QR code provided by the recipient. Verify that the address is complete and accurate, as sending to an incorrect address will result in permanent loss of funds.
-
Step 3: Confirm Network and Review Fees - Select the correct blockchain network (such as Ethereum mainnet or a Layer 2 solution). Review the estimated gas fees before proceeding, and consider adjusting gas settings if you're not in a hurry to potentially reduce costs.
-
Step 4: Execute the Transfer Securely - Tap "Confirm" to process the transaction. Your ETH will typically arrive at the destination address within seconds to minutes, depending on current network congestion levels and the gas fee you selected.
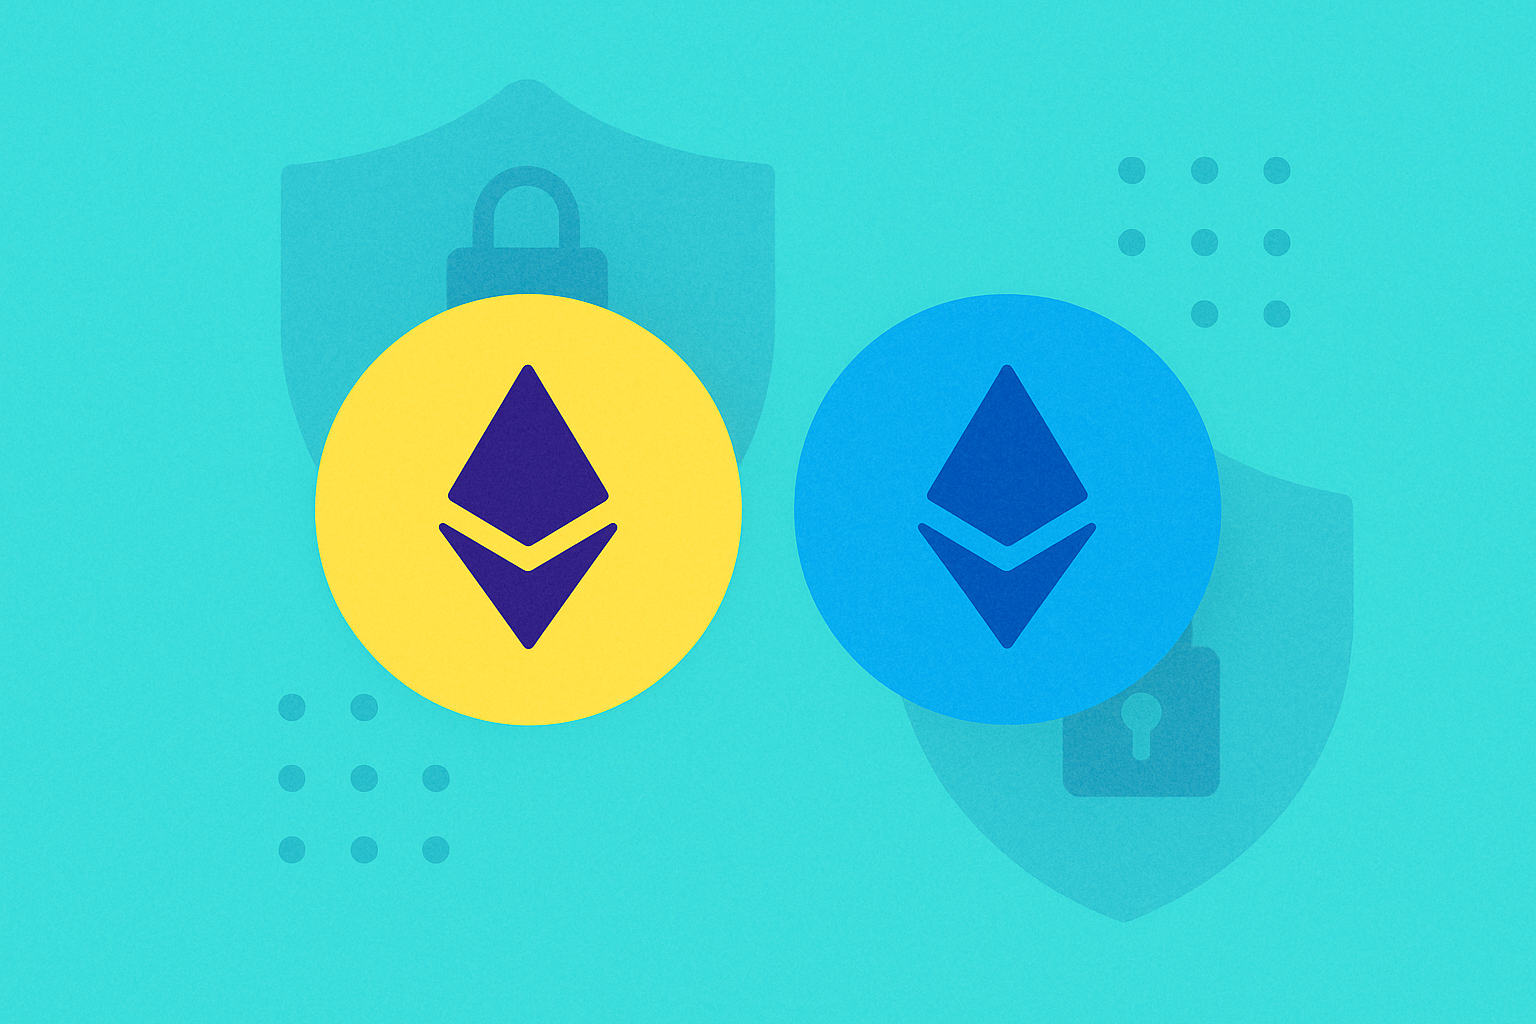
What's the Difference Between Buying Ethereum on Web3 Wallets and Centralized Exchanges?
While both Web3 wallets and centralized exchanges allow you to purchase Ethereum, they serve fundamentally different purposes and offer distinct advantages. Web3 wallets are non-custodial solutions, meaning you hold your private keys and maintain complete control of your ETH at all times. Centralized exchanges are custodial platforms designed primarily for active trading, offering high liquidity and advanced order execution tools but requiring you to trust the platform with your assets. Understanding these critical differences will help you choose the optimal solution for your specific needs and risk tolerance.
Why Choose Web3 Wallets for Buying Ethereum?
-
Non-Custodial Ownership: You control the private keys and have complete authority over your ETH, eliminating counterparty risk and ensuring your assets cannot be frozen or seized by a third party.
-
Cross-Chain ETH Support: Purchase, swap, and bridge ETH across multiple blockchain networks seamlessly, accessing liquidity and opportunities across the entire Web3 ecosystem.
-
Integrated DEX and Swap Features: Execute instant token conversions without leaving the wallet interface, maintaining privacy and avoiding the need to create accounts on multiple platforms.
-
Early Access to New Tokens: Web3 wallets typically list trending tokens and emerging projects before centralized exchanges, allowing you to capitalize on price movements earlier than most market participants.
Why Choose Centralized Exchanges to Buy Ethereum?
-
Advanced Trading Infrastructure: Centralized platforms offer sophisticated order types, professional trading charts, technical analysis tools, and real-time market data for serious traders.
-
High Liquidity: Deep order books for Ethereum and hundreds of trading pairs, including leveraged markets and derivatives, enable large transactions with minimal slippage.
-
Ideal for Active Trading: If you buy and sell ETH frequently to capture short-term price movements and employ day trading strategies, centralized exchanges provide the necessary tools and execution speed.
Which Platform Should You Use?
If you prioritize asset control, early access to emerging opportunities, and the ability to capitalize on market trends before they reach mainstream platforms, Web3 wallets offer significant advantages.
Advanced Web3 wallets list trending tokens and promising projects before centralized exchanges, enabling you to identify and act on price surges earlier than most traders. Combine this early-mover advantage with secure, non-custodial storage, cross-chain stablecoin management capabilities, and instant swap functionality across major blockchains like Solana, Ethereum, and BNB Chain—all within a single, beginner-friendly application interface.
Centralized exchanges excel at high-volume trading with advanced order types and professional-grade tools, but your assets remain in the platform's custody, exposing you to exchange hacks, regulatory actions, and withdrawal restrictions. For early access to new token listings, long-term holding strategies, and maintaining true ownership of your private keys, Web3 wallets provide a strategic edge in the evolving cryptocurrency landscape.
Many sophisticated users employ a hybrid approach—using Web3 wallets to identify and capitalize on early opportunities while leveraging centralized exchanges for larger trades and advanced trading strategies when appropriate.
What Are the Fees When Buying Ethereum on Web3 Wallets?
When purchasing Ethereum through Web3 wallet platforms, you'll encounter two primary categories of costs—blockchain network fees and service fees. Network fees are paid to blockchain miners or validators who process and confirm your transactions, while service fees cover card processing, payment gateway operations, or in-app swap execution. Understanding these various charges helps you select the most cost-efficient purchase method and avoid unnecessary expenses that can significantly impact your returns, especially for smaller transactions.
Network Fees
Network fees represent the transaction costs paid to miners or validators to process your purchase on the blockchain. These fees fluctuate based on network congestion levels and the specific blockchain you utilize for the transaction.
-
For standard ETH purchases on the Ethereum mainnet, fees are generally higher during peak trading hours and periods of high network activity, such as during major NFT drops or DeFi protocol launches.
-
For cross-chain Ethereum transactions, you may incur fees on both the source blockchain and destination network. For example, swapping USDT from the TRON network to ETH on Ethereum mainnet will incur TRON network fees plus Ethereum gas fees, effectively doubling your network cost.
Cost Optimization Tip: Significantly reduce network fees by timing your purchases during off-peak hours (typically late night or early morning in major time zones) or by selecting lower-cost blockchain networks when multiple options are available for your transaction.
Service Fees
Service fees encompass card processing charges, swap execution fees, and platform fees for certain payment methods and transaction types.
-
Card Processing Fees: Applied when using Visa or Mastercard to purchase ETH directly with fiat currency. These fees are set by payment providers and vary significantly by geographic region, typically ranging from 2-5% of the transaction amount.
-
Swap Fees: Applied when converting other tokens to ETH within the application. While rates are generally competitive compared to external exchanges, they may vary with market conditions and liquidity availability.
-
Cost-Effective Strategy: To minimize total costs when buying Ethereum, consider funding your wallet with low-fee stablecoins (such as USDT on the TRON network, which has minimal transaction fees) and then swapping to ETH. This approach can substantially reduce both card processing and network costs compared to direct fiat-to-ETH purchases.
Is Buying Ethereum on Web3 Wallets Safe?
Yes—purchasing Ethereum through reputable Web3 wallet platforms is secure when you follow recommended safety practices and maintain good operational security habits. Leading wallet solutions are built with advanced cryptographic protections and non-custodial control mechanisms, meaning you hold your own keys and maintain direct ownership of your assets. The security infrastructure is specifically designed to protect against both on-chain vulnerabilities (such as smart contract exploits) and off-chain threats (such as phishing attacks and malware), making these platforms trusted choices for ETH purchases and long-term storage.
Security Features
-
MPC (Multi-Party Computation) Wallet Security: Ensures private keys are never stored in a single location or reconstructed in full, dramatically reducing the risk of theft even if one component is compromised. This technology distributes key generation and transaction signing across multiple parties or devices.
-
Private Key Encryption: Your private keys are encrypted and stored locally on your device, accessible only to you through your secure authentication methods. The wallet provider never has access to your unencrypted private keys.
-
Cross-Chain Risk Reduction: Secure bridging technology minimizes exposure during token swaps and transfers between different blockchain networks, protecting against common bridge exploits and man-in-the-middle attacks that have plagued less sophisticated cross-chain solutions.
Safety Tips for Users
-
Enable Two-Factor Authentication (2FA): Activate 2FA on any linked accounts for enhanced login and transaction protection. This adds a critical second layer of security beyond your password.
-
Verify All Addresses: Always double-check recipient addresses before sending ETH, as phishing sites and clipboard hijacking malware can alter addresses without your knowledge. Consider sending a small test transaction first for large transfers.
-
Secure Your Seed Phrase: Keep your seed phrase offline in a secure, private location such as a safe or safety deposit box. Never share it digitally, store it in cloud services, or photograph it with your phone. Anyone with access to your seed phrase has complete control over your assets.
-
Use Official Sources: Only download wallet software from official app stores or verified websites. Verify URLs carefully and bookmark official sites to avoid phishing attempts.
Conclusion
Purchasing Ethereum (ETH) through modern Web3 wallet platforms is simple, secure, and efficient, making it one of the most convenient pathways to enter the Ethereum ecosystem in the current digital asset landscape. With comprehensive multi-chain support for 90+ blockchain networks, non-custodial asset control, and seamless integration of swap functionality, staking mechanisms, and DApp connectivity, these platforms provide far more than just a place to hold your ETH—they serve as complete Web3 hubs that unlock the full potential of decentralized finance.
Whether you're buying ETH with fiat currency, swapping from stablecoins, or utilizing cross-chain swap technology, leading Web3 wallets combine maximum flexibility with industry-leading MPC security infrastructure and private key encryption protocols. Their global reach and support for over 1 million tokens across 130+ blockchains ensure you can manage all your digital assets in a single, unified application interface.
Trusted by tens of millions of users worldwide, advanced Web3 wallet solutions keep your funds secure while providing early access to new token listings and trending market opportunities. They enable you to unlock cross-chain DeFi protocols, access competitive stablecoin savings rates, and participate in the evolving Web3 economy—all while maintaining complete control over your private keys and digital assets. As the cryptocurrency ecosystem continues to mature, non-custodial wallet solutions represent the future of secure, user-controlled digital asset management.
FAQ
What is a Web3 wallet and how does it differ from exchange wallets?
Web3 wallets give you direct control of your assets through private keys you manage yourself, offering greater security and privacy. Exchange wallets are controlled by the platform, making them more convenient for beginners but with less personal control over your funds.
How to buy Ethereum (ETH) in Web3 wallets? What are the detailed steps?
Open your Web3 wallet, navigate to the swap or purchase section, select ETH as the target asset, enter the amount you wish to purchase, review the transaction details, and confirm. The ETH will be deposited directly into your wallet upon completion.
What security concerns should I be aware of when buying ETH? How can I avoid scams?
Never share your private keys or seed phrases. Avoid allowing remote access to your computer. Only transact through official channels. Verify wallet addresses before confirming transactions to prevent phishing scams.
What fees do I need to pay when buying ETH on a Web3 wallet (Gas fees, transaction fees, etc.)?
When buying ETH in a Web3 wallet, you primarily pay Gas fees—transaction costs paid to Ethereum network miners. Gas fees vary based on network congestion and are charged in ETH. Some wallets may offer Gas fee assistance programs to help reduce costs.
Which Web3 wallets support direct ETH purchases? What are the differences between MetaMask, Trust Wallet and others?
MetaMask and Trust Wallet both support direct ETH purchases. MetaMask excels in desktop Web3 and DeFi with deep customization, while Trust Wallet prioritizes mobile-first experience and multi-chain support across 100+ blockchains. Both offer native staking and DApp browsing capabilities.
How to safely store and manage ETH after purchase?
Use a cold wallet for offline storage to prevent hacking. Securely backup your private keys and recovery phrases. For frequent transactions, consider a hot wallet with strong security measures. Never share your keys with anyone.
What should I do if I encounter problems or transaction failure during the purchase process?
If your transaction fails, check your internet connection and wallet balance first. Contact support with your transaction hash and details. Most issues stem from insufficient gas fees, network congestion, or verification requirements. Support teams resolve issues within 24 hours.

What is DeFi (Decentralized Finance) and How it Works

Guide to Acquiring Arbitrum ETH Safely
Guide to Linking Your Wallet to Decentralized Exchanges
Beginner's Guide: How to Purchase ONDO Coins and Understanding the ONDO Token
Best Solutions for Storing and Managing Your Ethereum Tokens
What is cryptocurrency? How does cryptocurrency work? The ultimate beginner's guide to digital assets

About the Funding Cost
What Is Bombie (BOMB): The #1 Telegram and LINE GameFi Token in Web3
Voltix (VOLT) Airdrop Guide: Participation Methods and Reward Claims
Understanding Cryptocurrency Airdrops and Token Swap Trading Events
In-Depth Overview of Crypto Wallet Capabilities: A Unified Solution for Payments and Wealth Management