
How to Transfer My Pi Coin to Wallet

Introduction
Unlocking the full potential of your Pi Coin begins with understanding how to securely move it into a personal wallet. As Pi Network's ecosystem has evolved in recent developments, more users are looking to transfer their mined tokens into Web3 wallets for better control and flexibility. This shift represents a significant step toward true cryptocurrency ownership, where users maintain complete custody of their digital assets rather than relying on centralized platforms.
However, navigating the transfer process can be daunting for first-timers, especially given the unique characteristics of Pi Network's mainnet migration. Unlike traditional cryptocurrencies that have established transfer protocols, Pi Coin operates within a specific ecosystem that requires careful attention to verification requirements and network status. In this comprehensive guide, you'll discover a step-by-step walkthrough to transfer your Pi Coin to a wallet, with tested strategies and essential insights to make your transition as seamless as possible. Whether you're new to cryptocurrency management or experienced with other digital assets, understanding Pi's specific requirements will ensure a smooth and secure transfer process.
Detailed Steps/Process
Preparing Your Pi Network Account
Before even thinking about transferring Pi Coin, you need to ensure your Pi Network account is ready. The preparation phase is critical because Pi Network has implemented specific security measures to protect both users and the network's integrity. The key prerequisites include:
KYC Verification: Pi Network requires users to complete Know Your Customer (KYC) verification. This step validates your identity and is crucial for gaining access to withdrawal or transfer functions. The KYC process involves submitting identification documents and completing verification steps through the Pi Network app. This requirement helps prevent fraud, ensures compliance with regulatory standards, and maintains the legitimacy of the Pi ecosystem. Without completed KYC verification, you will not be able to access transfer features, regardless of how much Pi you have mined.
App Update: Update your Pi Network app to the latest version to access the latest features and wallet integrations. Regular updates often include critical security patches, improved user interfaces, and new functionality related to mainnet operations. Check your device's app store regularly for updates, as older versions may not support transfer capabilities or may have compatibility issues with current blockchain protocols.
If you haven't passed KYC verification, focus on that first as you won't be able to move your coins otherwise. The verification process can take several days or weeks depending on network demand, so it's advisable to complete this step well in advance of when you plan to transfer your Pi Coin.
Setting Up Your Web3 Wallet
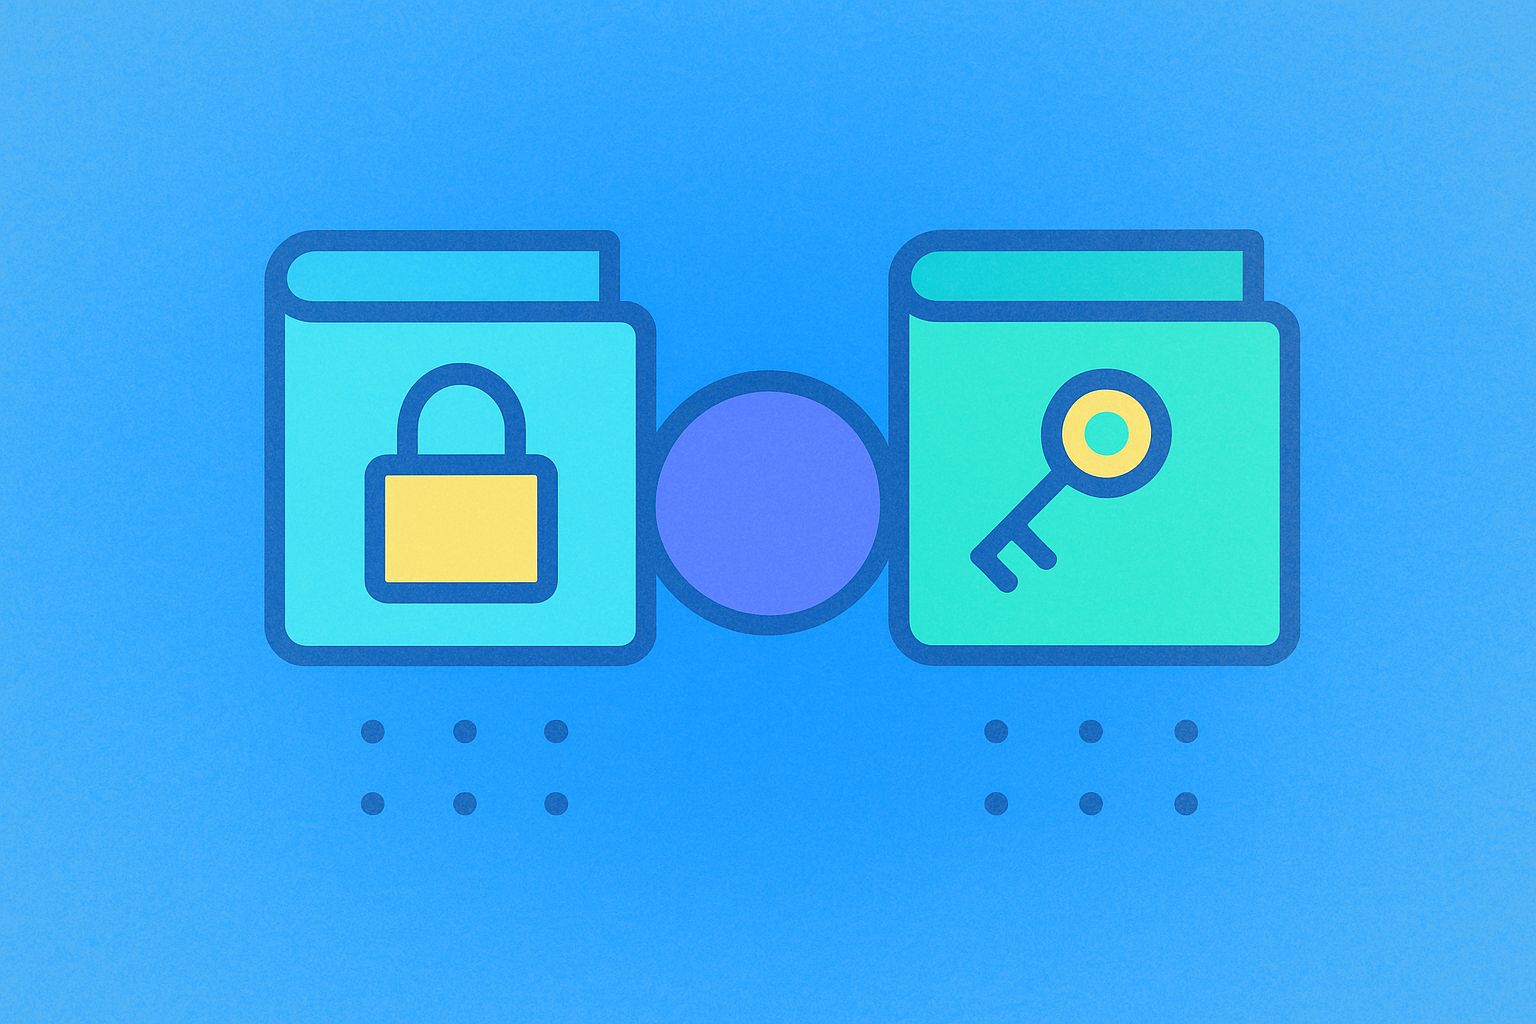
No transfer can happen without a destination wallet, which serves as your personal vault for storing cryptocurrency securely. For managing Pi Coin, a reputable Web3 wallet is highly recommended due to its robust security standards and multi-chain support. Web3 wallets provide users with complete control over their private keys, meaning only you have access to your funds—a fundamental principle of cryptocurrency ownership.
When selecting a wallet, consider factors such as security features, user interface, community reputation, and compatibility with Pi Network's mainnet. Setting up a reliable Web3 wallet typically involves the following steps:
Download the Wallet App: Choose a well-established Web3 wallet application on your preferred device. Research thoroughly before downloading, ensuring you're getting the official app from legitimate sources like official app stores. Read user reviews and verify the developer's credentials to avoid phishing applications that mimic legitimate wallets.
Create a New Wallet: Follow the wallet's setup process, making sure to back up your seed phrase securely. The seed phrase (also called recovery phrase or mnemonic phrase) is typically a series of 12-24 words that serves as the master key to your wallet. Write this phrase down on paper and store it in a secure location—never save it digitally where it could be hacked. Never share your seed phrase or private keys with anyone, as possession of these credentials grants complete access to your funds.
Add Pi Network Mainnet: After creating your wallet, make sure the wallet supports Pi Mainnet. Many modern Web3 wallets support various chains and keep up-to-date with emerging cryptocurrencies such as Pi. You may need to manually add Pi Network as a custom network by entering specific network parameters, which can typically be found in official Pi Network documentation.
Locating Your Wallet's Pi Address
To receive Pi Coin, you need your wallet's Pi Coin receiving address, which functions similarly to a bank account number but for cryptocurrency. Each wallet generates unique addresses for different cryptocurrencies, and it's essential to use the correct address format for Pi Coin to ensure successful transfers. Here's how to find your receiving address:
Open your chosen Web3 wallet and navigate to the main interface where your assets are displayed. Find the Pi Coin asset in the list of supported tokens—if you've properly added Pi Network to your wallet, it should appear in your asset list. Tap on the Pi Coin entry and select the 'Receive' or similar option to display your Pi Coin address.
Your receiving address will typically be displayed as a long string of alphanumeric characters, often accompanied by a QR code for easy scanning. Copy this address securely, taking care to capture the entire string without any extra spaces or missing characters. Some wallets offer a copy button to ensure accuracy.
This address is public information—you share this to receive funds from others, but never share the private key or seed phrase associated with your wallet. Think of your public address as your email address (safe to share) and your private key as your password (never to be shared).
Initiate Pi Coin Transfer from Pi Network
Pi Network allows users to transfer their balance once the wallet features are opened up during mainnet migrations. The availability of this feature depends on Pi Network's development roadmap and the current status of mainnet operations. Here are the typical steps you'll follow within the Pi Network app:
Navigate to the Pi Wallet or Mainnet Transfer section inside the app. This section may be labeled differently depending on your app version, but it's typically found in the main menu or under wallet settings. Select the option to send or transfer Pi Coin, which will open a transfer interface.
Paste your Web3 wallet's Pi address as the recipient. Use the paste function rather than typing manually to avoid errors, as even a single incorrect character will result in lost funds. Double-check that the pasted address matches exactly what you copied from your wallet.
Enter the amount of Pi you wish to transfer. You can typically choose to transfer all your available balance or a specific amount. Keep in mind that some Pi may be locked or unavailable for transfer depending on mining schedules and network policies.
Review transaction details carefully, including the recipient address, transfer amount, and any associated fees. Confirm the transaction and authorize it with your security PIN or biometric authentication. This final authorization step provides an additional layer of security to prevent unauthorized transfers.
Important Note: The ability to transfer Pi Coin to external wallets is subject to the Pi Network's mainnet status and distribution schedules. If the feature is not yet available, monitor official Pi Network communications through their app, website, and social media channels for updates on when transfers will be enabled. Pi Network has been gradually rolling out mainnet features, and transfer capabilities may be released in phases.
Wait for Confirmation
After sending, transactions may take several minutes to several hours, depending on network congestion and Pi's mainnet operational status. Blockchain transactions require confirmation by network validators, a process that ensures transaction legitimacy and prevents double-spending.
You'll see notifications for incoming transactions in your Web3 wallet once the transfer is finalized. Most wallets display pending transactions with a status indicator, allowing you to track the progress of your transfer. During periods of high network activity, transactions may take longer to process, so patience is important.
You can typically view transaction details including transaction ID (hash), timestamp, and confirmation status within both the Pi Network app and your receiving wallet. If you're concerned about a delayed transaction, you can use blockchain explorers to look up your transaction using its hash.
Additional Tips or Notes
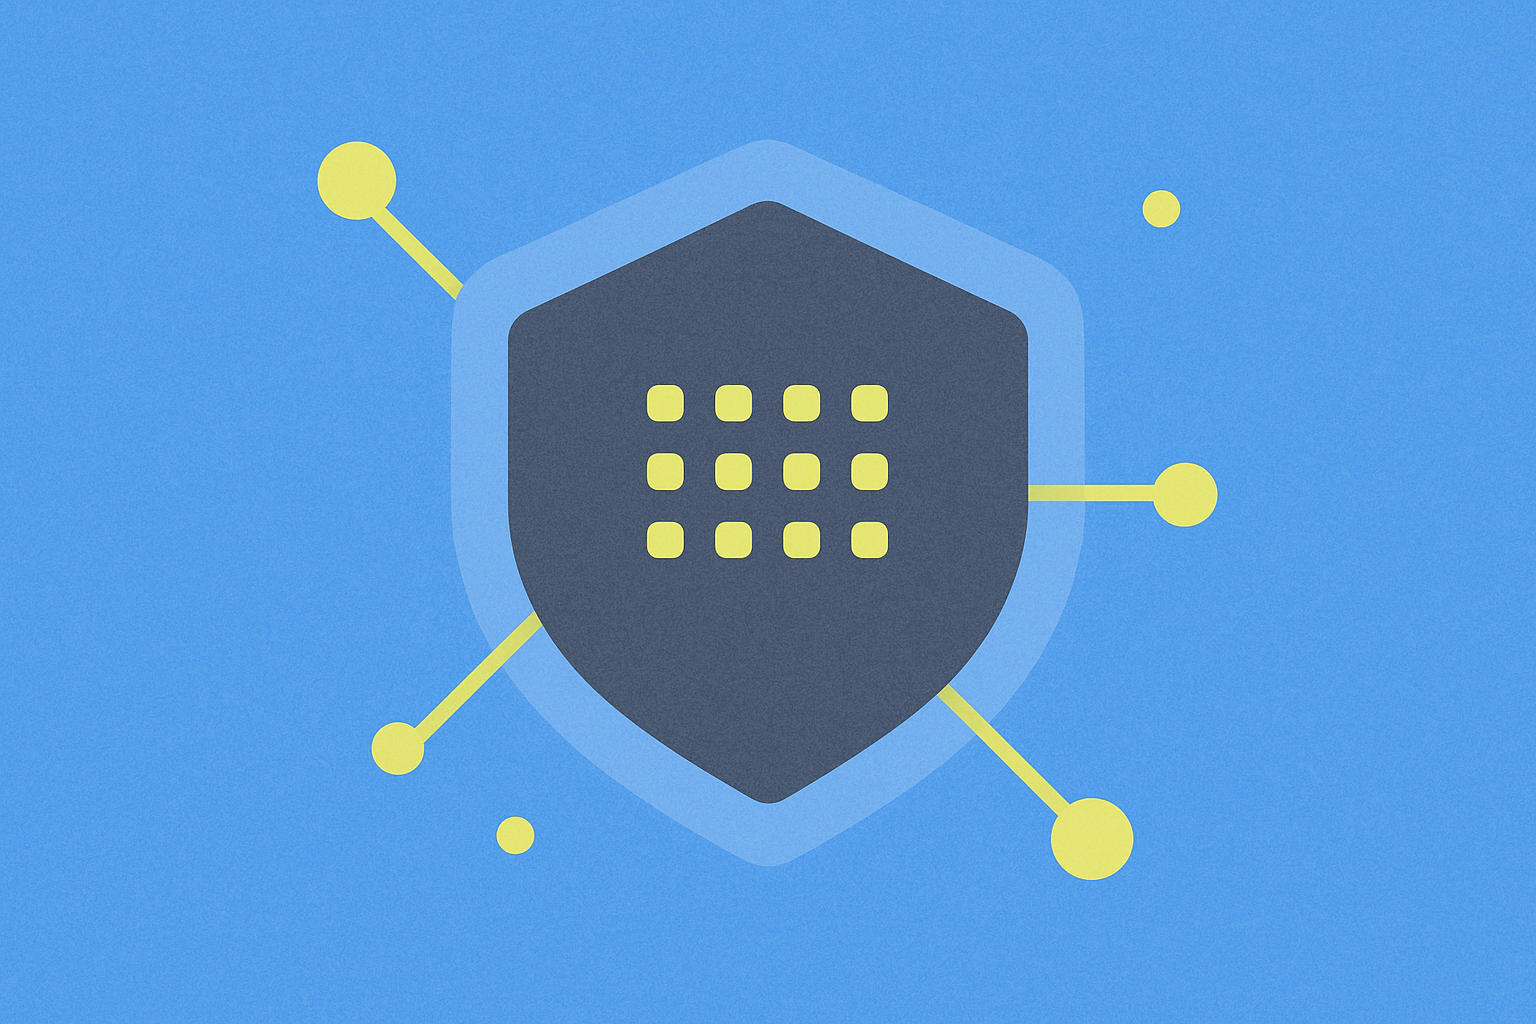
Maximizing Security
Security should be your top priority when handling cryptocurrency transfers, as blockchain transactions are irreversible and lost funds cannot be recovered. Implement these security best practices:
Double-Check Addresses: Always triple-check the wallet address before confirming any transfer. Consider verifying the first and last few characters of the address to ensure accuracy. Some users even send a small test transaction first before transferring larger amounts.
Use Reliable Networks: Ensure you have a stable internet connection throughout the transfer process. Avoid using public Wi-Fi networks when conducting cryptocurrency transactions, as these networks may be vulnerable to man-in-the-middle attacks. Use your mobile data or a trusted private network instead.
Avoid Phishing: Only use official Pi Network and legitimate Web3 wallet apps. Never enter your private keys on unfamiliar sites or respond to unsolicited messages asking for your credentials. Be wary of fake apps, phishing emails, and fraudulent websites that impersonate official platforms. Bookmark official URLs and always verify you're on the correct site before entering sensitive information.
Tracking and Managing Funds
Modern Web3 wallets offer built-in tools to check your balance and transaction history immediately after the transfer completes. Familiarize yourself with your wallet's interface to effectively monitor your Pi Coin holdings. Most wallets provide features such as:
- Real-time balance updates
- Detailed transaction history with timestamps
- Portfolio tracking across multiple cryptocurrencies
- Price charts and market data
- Security settings and backup options
Regularly review your transaction history to detect any unauthorized activity and maintain awareness of your asset movements.
Stay Updated
Pi Network features and mainnet capabilities have been evolving as the project progresses toward full decentralization. Regularly consult official announcements to know when new transfer options, bridges, or integrations become available. Follow Pi Network's official channels:
- Official Pi Network app announcements
- Pi Network website and blog
- Verified social media accounts
- Community forums and discussion groups
Being informed about network updates helps you take advantage of new features and avoid potential issues during transition periods.
Transfer Fees
Most blockchains charge transaction fees (also called network fees or gas fees) to compensate validators for processing transactions. Although Pi has implemented low or minimal fees in its initial mainnet operations, always check the latest fee structure in the app before transferring. Transaction fees may vary based on:
- Network congestion levels
- Transaction priority settings
- Transfer amount and complexity
- Current network policies
Understanding fee structures helps you plan transfers economically and avoid surprises.
What to Do If an Error Occurs
If your Pi does not arrive in the wallet after what appears to be a successful transaction, don't panic. Follow these troubleshooting steps:
Check Transaction Status: Review the status in Pi Network app transaction history. Look for confirmation messages or error indicators that might explain the delay.
Verify Recipient Address: Review the recipient address for mistakes. Even a single incorrect character means the transaction went to a different address (potentially one that doesn't exist).
Wait for Network Updates: If the mainnet is experiencing congestion or technical issues, transactions may be delayed. Check official Pi Network channels for any announced network issues.
Contact Support: If issues persist after reasonable waiting time and verification, contact Pi Network and your wallet provider's support teams. Provide transaction details including transaction ID, timestamp, and any error messages you received.
Conclusion
Transferring your Pi Coin to a Web3 wallet is an essential step in taking control of your digital assets—it opens up more opportunities to engage with decentralized applications, participate in the Pi ecosystem, and ensure the security of your holdings through self-custody. By mastering each step of the process, from completing KYC verification and setting up a secure wallet, to confirming your transfer and implementing security best practices, you position yourself at the forefront of the cryptocurrency revolution.
The growing interoperability of Pi Coin, combined with the security and powerful features offered by reputable Web3 wallets, is making user self-custody more accessible than ever before. This represents a significant milestone in Pi Network's journey toward becoming a fully functional cryptocurrency ecosystem. As Pi Network continues to develop and expand its mainnet capabilities, being prepared to transfer and manage your funds will enable you to make the most of this innovative ecosystem.
Whether you're planning to hold your Pi as a long-term investment, participate in decentralized finance applications, or explore other use cases within the Pi ecosystem, the actions you take in securing and managing your assets set the foundation for success in the decentralized future. Self-custody through personal wallets represents the core principle of cryptocurrency—true ownership without reliance on centralized intermediaries. By following this guide and maintaining good security practices, you're not just transferring coins; you're taking an important step toward financial sovereignty in the emerging digital economy.
FAQ
How do I transfer Pi coins from the Pi Network app to an external wallet?
First, complete KYC verification in the Pi Network app. Then select 'Send Pi' and enter your external wallet address. Review the details and confirm the transaction to complete the transfer.
What are the best wallets to receive Pi coins?
The best wallets for receiving Pi coins are Pi Network Wallet, Trust Wallet, Ledger, and Bitget Wallet. These provide secure storage and seamless Pi asset management for users.
What are the fees and processing time for transferring Pi coins?
Pi transfers typically complete within minutes with no transaction fees charged. Processing time depends on network conditions, but most transfers settle quickly once confirmed on the blockchain.
Do I need to complete KYC verification before transferring Pi coins?
Yes, KYC verification is required before transferring Pi coins. This process ensures regulatory compliance and prevents fraud. Once verified, you can migrate your tokens to the mainnet and store them in a compatible wallet.
Is it safe to transfer Pi coins to a hardware wallet like Ledger?
Yes, transferring Pi coins to a hardware wallet like Ledger is safe. Hardware wallets provide strong security by keeping your private keys offline. Ensure you verify wallet compatibility and follow proper transfer procedures for maximum protection.
What is the minimum amount of Pi coins I can transfer?
The minimum amount of Pi coins you can transfer is one pi coin. This is the required minimum balance to maintain a mainnet wallet.

Understanding Crypto Wallet Addresses: A Beginner's Guide

Understanding Cryptocurrency Wallet Addresses: A Beginner's Guide
Top Secure Digital Wallets for Your Cryptocurrency Needs
How to Recover Your Crypto Recovery Phrase: A Practical Guide

Secure Your Digital Assets with Advanced Hardware Wallet Solutions
Understanding Custodial and Non-Custodial Wallets: Key Differences Explained
How Old is Charles Hoskinson: Beyond the Numbers
DOGE Price Prediction & Analysis: Will Dogecoin Hit $50 by 2030?
Bitcoin's September 2025 Price Prediction: Can It Break the Curse?

A Company Sells 10000 Shares of Previously Authorized Stock: Key Insights

Is There Gold on the Moon: Facts, Myths, and Blockchain Insights